 by
by Absolutely! Here’s a detailed and beginner-friendly step-by-step tutorial on how to crochet a tote bag with a large flower motif. This project combines a basic tote shape with a bold, decorative flower on the front, making it both functional and beautiful — perfect for beginners who want to learn how to combine basic stitches with simple motif work.
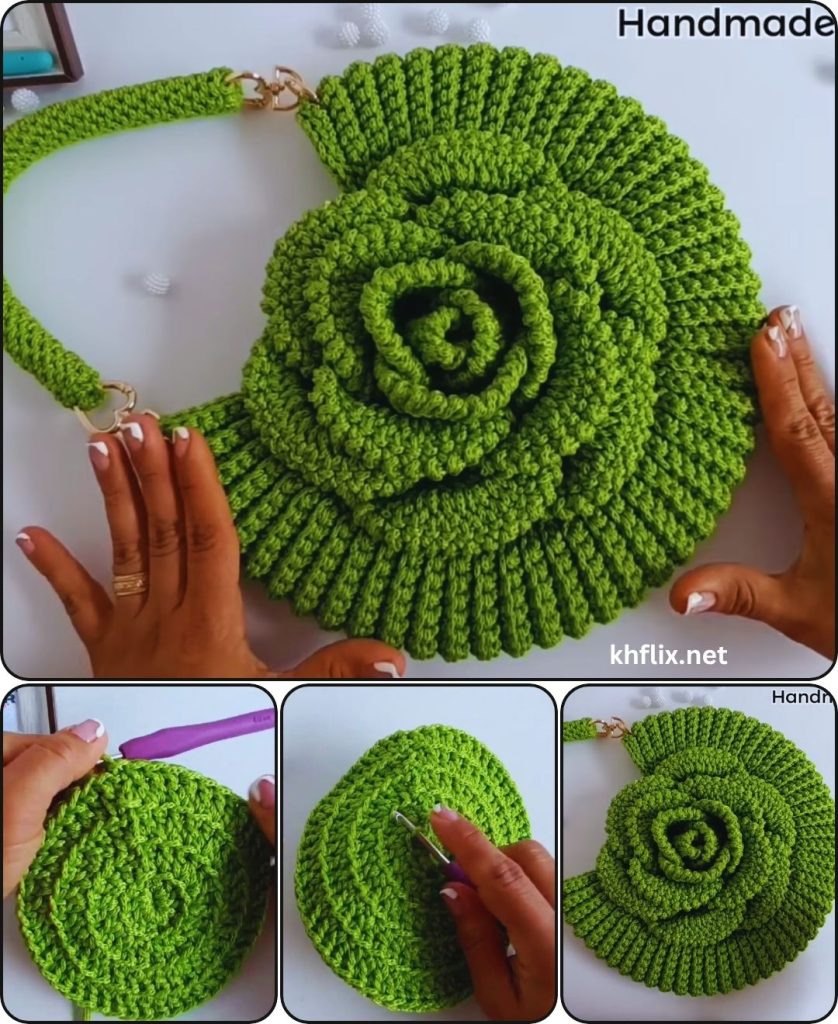
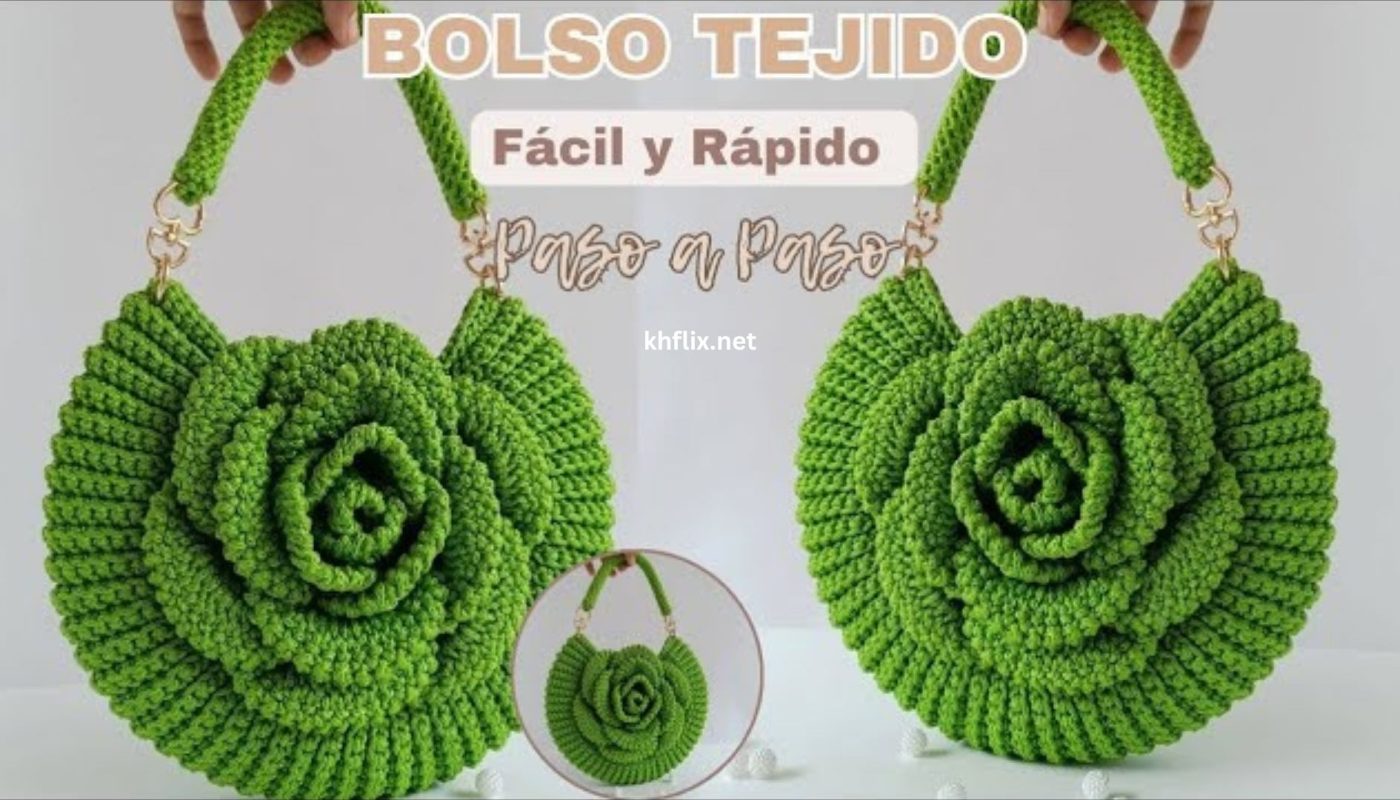
How to Make a Crochet Tote Bag with a Large Flower (Beginner Tutorial) 👜🌸
Learning to crochet a tote bag with a striking large flower is a fantastic project for beginners! It allows you to master fundamental stitches while creating a functional and beautiful accessory. This tutorial will guide you through each step, from crocheting the bag’s simple base to crafting and attaching the eye-catching floral appliqué.
Materials You’ll Need 🧶
Before you start, gather these essential supplies:
- Yarn:
- Main Bag Color: Around 300-400 grams (approximately 600-800 yards) of worsted weight (aran) cotton or cotton blend yarn. Cotton is recommended because it offers good structure and durability, and it’s less prone to stretching compared to acrylic, making it ideal for bags.
- Flower Colors: Smaller amounts (scraps are perfect!) of worsted weight cotton in 2-3 contrasting or complementary colors for your large flower.
- Crochet Hook: A hook size appropriate for your yarn. For worsted weight, a 5.0mm (H) or 5.5mm (I) hook works well for bags, creating a sturdy fabric.
- Scissors: For cutting yarn.
- Yarn Needle (Tapestry Needle): Crucial for weaving in ends and securely attaching the flower.
- Stitch Marker: Extremely helpful for marking the beginning of rounds when working in a continuous spiral.
Basic Crochet Stitches You’ll Use 🧵
This project relies on fundamental crochet stitches. If you’re new to these, a quick practice swatch will help you build confidence!
- Ch (Chain): The most basic stitch, forming your starting foundation.
- Sl St (Slip Stitch): Used to join rounds or move across stitches without adding height.
- Sc (Single Crochet): A compact, dense stitch that creates a sturdy fabric, perfect for a bag.
- Dc (Double Crochet): A taller stitch that works up quickly and creates a slightly more open fabric.
Part 1: Crocheting the Tote Bag Body 👜
We’ll make the bag in one piece, working from the bottom up. This approach minimizes seaming and is very beginner-friendly.
Step 1: Creating the Oval Base
This method ensures a flat, sturdy bottom for your tote.
- Chain 26: This will determine the initial length of your bag’s base. You can adjust this number for a wider or narrower bag.
- Round 1:
- Sc 2 into the 2nd chain from your hook.
- Sc 1 into each of the next 23 chains.
- Sc 3 into the last chain (this helps turn the corner smoothly).
- Now, you’ll work down the other side of your initial chain. Sc 1 into each of the next 23 chains.
- Sc 1 into the very last chain (this completes the “turn” on the other side).
- You should now have 52 single crochet stitches. Do NOT join with a slip stitch. Place your stitch marker in the first stitch of this round. We will be working in continuous rounds (a spiral).
Step 2: Building the Sides of the Bag
You’ll now continue to work in continuous rounds, increasing gradually to shape the base, then working straight up for the bag body.
- Round 2:
- Sc 2 into the first stitch (where your stitch marker is). Move your stitch marker up to this new stitch.
- Sc 1 into the next 24 stitches.
- Sc 2 into each of the next 3 stitches (these are the stitches that formed the turn on the end).
- Sc 1 into the next 24 stitches.
- Sc 2 into the last 2 stitches.
- You should have 60 single crochet stitches. Move your stitch marker up to the first stitch of this new round.
- This round gently expands the base slightly, ensuring a flat foundation.
- Rounds 3 – 5:
- Sc 1 into each stitch around. Do not increase or decrease.
- Keep moving your stitch marker up to the first stitch of each new round.
- These rounds continue to shape the base slightly, ensuring it lies flat.
- Rounds 6 – 30 (or until desired height):
- Sc 1 into each stitch around. Do not increase or decrease.
- Continue working these plain single crochet rounds, moving your stitch marker up each time, until your bag reaches the desired height (e.g., about 10-12 inches tall for a standard tote).
- You’ll see the sides of the bag forming, curving upwards from the base.
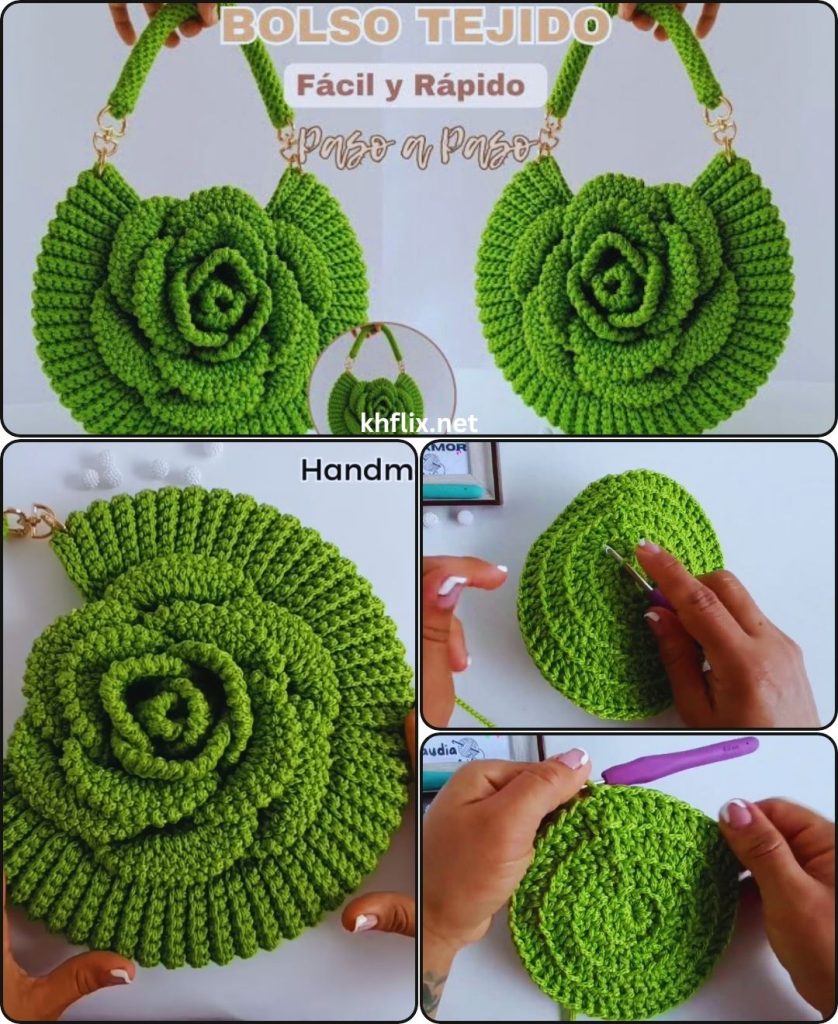
Part 2: Creating the Handles 👐
For a sturdy tote, integrating the handles directly into the top of the bag is simple and effective, avoiding extra seaming.
- Round 31 (Handle Round – adjust round number based on your bag’s height):
- Sc 1 into the first 12 stitches.
- Chain 30 (this creates the first handle opening – adjust chain length for longer or shorter handles).
- Skip the next 15 stitches on the bag body.
- Sc 1 into the next 18 stitches.
- Chain 30 (this creates the second handle opening).
- Skip the next 15 stitches on the bag body.
- Sc 1 into the last 6 stitches.
- Ensure your chains are loose enough so the handles aren’t too tight.
- Round 32:
- Sc 1 into each of the 12 single crochet stitches.
- Now, you’ll sc into the chain stitches: Sc 1 into each of the 30 chain stitches of the first handle.
- Sc 1 into each of the 18 single crochet stitches on the top.
- Sc 1 into each of the 30 chain stitches of the second handle.
- Sc 1 into each of the last 6 single crochet stitches.
- You should have the same total number of stitches as before you started the handles (60 stitches in our example), as you replaced skipped stitches with chain stitches.
- Round 33:
- Sc 1 into each stitch around. This final round will firm up the handle openings.
- When you reach the end of the round, join with a sl st to the first sc of the round.
- Fasten off your yarn, leaving a tail about 6 inches long.
Part 3: Crocheting the Large Flower Appliqué 🌸
This beautiful flower will be sewn onto your finished bag, adding a unique decorative touch. We’ll use a simple yet striking design.
Flower Colors: Let’s use Color A for the center, Color B for the first layer of petals, and Color C for the second, larger layer of petals.
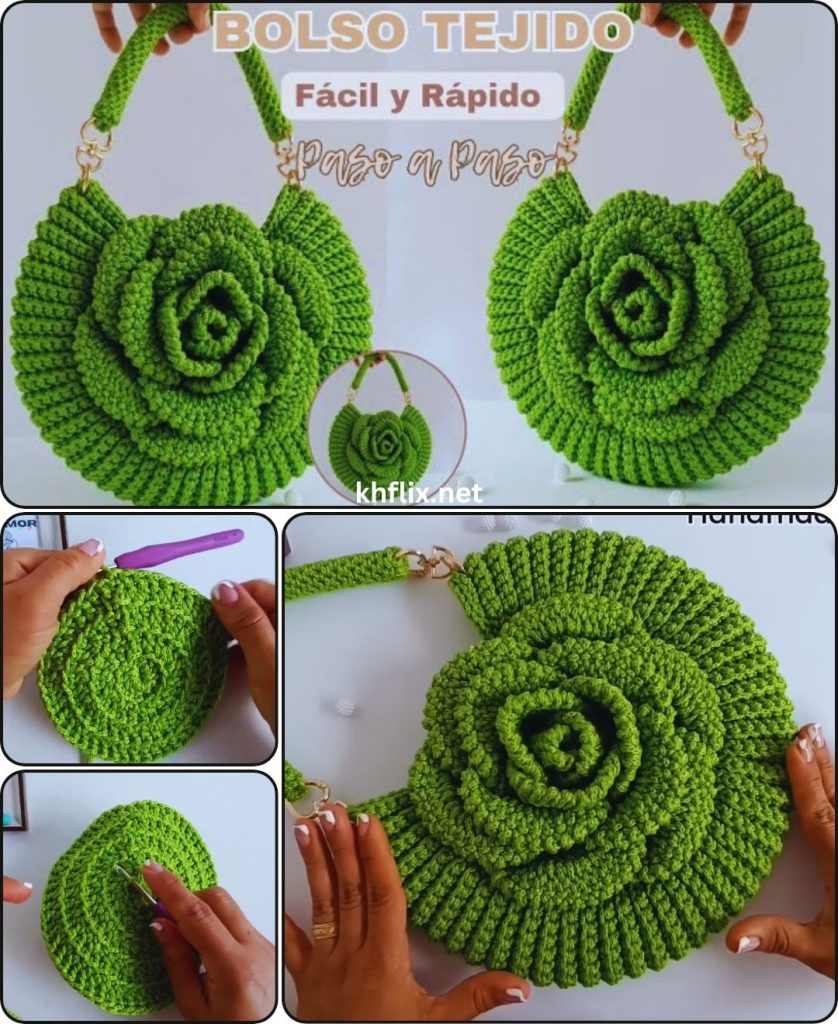
Step 1: Flower Center (Color A)
- Magic Ring: Start with a Magic Ring (or Ch 4 and join with a sl st to form a ring).
- Ch 2 (does not count as a stitch). Work 10 Dc into the magic ring.
- Pull the tail tight to close the ring. Join with a sl st to the top of the first Dc.
- Fasten off Color A. Weave in ends. (10 Dc)
Step 2: First Petal Layer (Color B)
- Attach Color B into any space between two Dc stitches from the previous round with a sl st.
- (Ch 2, Dc 1, Ch 2, Sl St) into the same space. This creates one small petal.
- Sl St into the next space between Dc stitches.
- Repeat Step 2 and 3 around for a total of 10 petals.
- Join with a sl st to the initial sl st. Fasten off Color B. Weave in ends.
Step 3: Second Petal Layer (Color C)
- Attach Color C into any sl st from the previous round (these sl stitches are at the base of your previous petals, directly under the center of each small petal) with a sl st.
- Ch 3 (counts as first Dc).
- Work 3 Dc into the same sl st.
- Ch 2.
- Work 4 Dc into the next sl st from the previous round.
- Ch 2.
- Repeat steps 5 and 6 around for a total of 10 larger petal groups.
- Join with a sl st to the top of the initial Ch 3.
- Fasten off Color C, leaving a very long tail (at least 24-30 inches) for sewing the flower onto the bag. Weave in any other ends from the flower.
Part 4: Assembling Your Tote Bag 🌟
- Weave in all remaining ends on your bag body. This is crucial for a neat and durable finish.
- Attach the Large Flower:
- Position your large flower appliqué centrally on one side of your tote bag. Pin it in place with a few pins if needed.
- Using the long tail from Color C and your yarn needle, carefully sew the flower onto the bag. Stitch around the outer edge of the last round of the flower, ensuring you catch both the flower and the bag fabric securely. Go around twice for extra durability.
- Weave in any remaining tail from the flower.
- Blocking (Optional but Recommended): Gently wet your finished bag (and flower if it feels a bit uneven), shape it to your desired form, and allow it to air dry completely. You can stuff it lightly with towels to help it maintain its shape while drying. This helps even out stitches and gives your bag a more polished look.
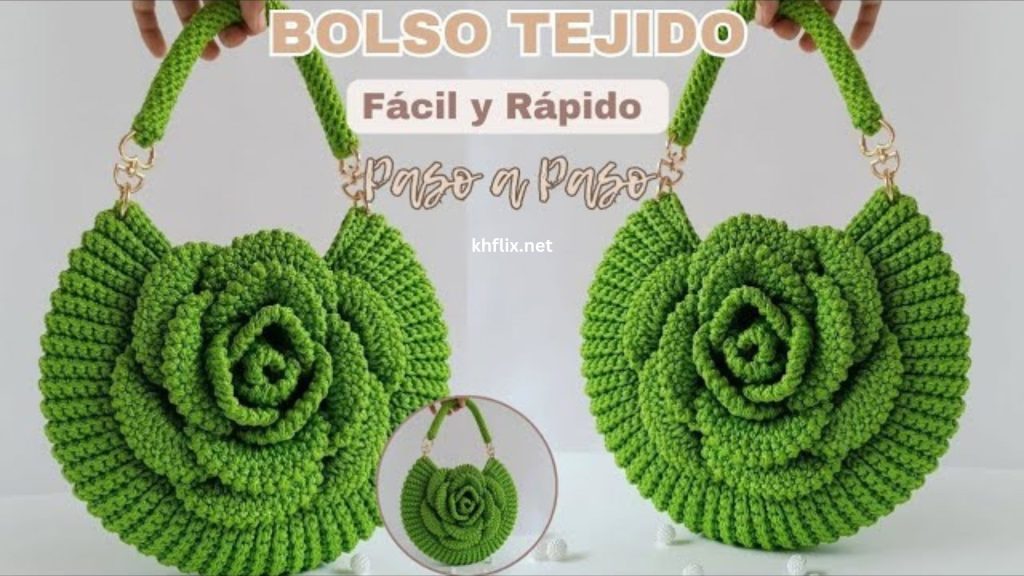
Congratulations! 🎉
You’ve successfully created a beautiful and unique Crochet Tote Bag with a Large Flower! This bag is perfect for everyday use, carrying your craft projects, or as a thoughtful handmade gift.
Tips for Success & Customization 💡
- Consistent Tension: Try to maintain even tension throughout your crocheting. This ensures uniform stitches and a cohesive look.
- Counting is Key: Especially in the initial rounds of the base, regularly count your stitches to keep your bag symmetrical and prevent it from becoming warped.
- Yarn Choice Matters: While cotton is recommended, you can experiment with other sturdy yarns like jute or a robust acrylic blend once you’re more comfortable.
- Color Play: Don’t be afraid to experiment with different color combinations for your flower and bag. Analogous colors create harmony, while complementary colors offer a bold contrast.
- Strap Reinforcement: For extra durability on your handles, you can work an extra round of single crochet around the chains in Round 32.
- Lining (Advanced Option): For a truly professional finish and to prevent small items from slipping through stitches, you can sew a fabric lining inside your bag. This is an extra step but well worth it!
What lovely treasures will you carry in your beautiful new tote?