 by
by Welcome! 🧶 Below is a detailed, beginner-friendly article on how to crochet a Granny Rectangle Tote Bag — from materials and stitches to finishing touches. This guide is easy enough for new crocheters but produces a beautiful, durable, and stylish tote you’ll love using or gifting.
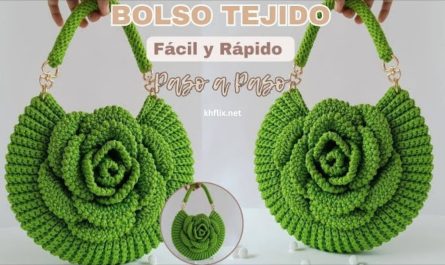
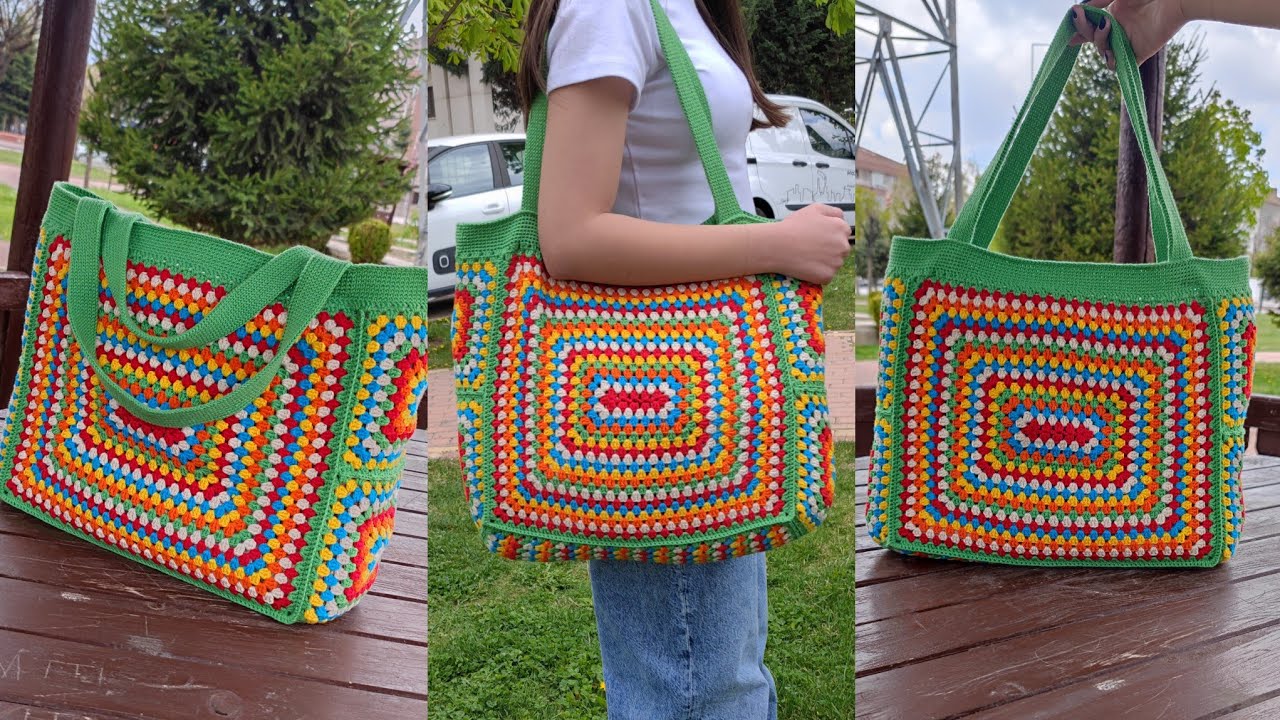
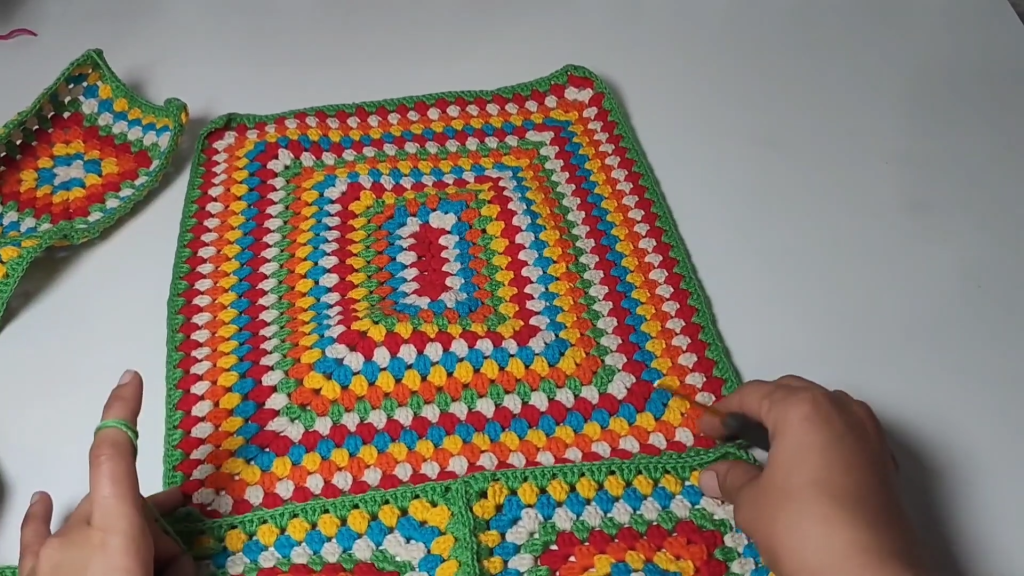
👜 How to Crochet a Granny Rectangle Tote Bag for Beginners (Step-by-Step Full Guide)
Crocheting a granny rectangle tote bag is one of the most enjoyable and rewarding beginner projects. If you’ve ever made a classic granny square, you already know the basics — and this pattern simply extends that idea into a rectangular shape, perfect for a trendy and functional tote bag.
Granny rectangle bags are not only fashionable but also practical. They’re sturdy, colorful, and eco-friendly, making them ideal for shopping, carrying books, or a casual day out.
Let’s dive into how you can create your own granny rectangle tote bag, even if you’re just starting to learn crochet!
🧵 What Makes the Granny Rectangle Bag Special
- Beginner-friendly: Uses only simple stitches — chain, slip stitch, and double crochet.
- Customizable: You can adjust the size, shape, and colors easily.
- Portable: Perfect on-the-go project — you can make it anywhere!
- Stylish & Sustainable: No plastic bags needed — just your handmade crochet tote.
🧩 Materials You’ll Need
Gather all your supplies before starting.
✅ Yarn
- Type: Cotton or cotton-blend yarn (durable and washable)
- Weight: Medium (Category 4) yarn — like Lily Sugar’n Cream or similar
- Colors: At least 2–3 colors for a classic granny style (e.g., white, beige, orange, and brown)
🪄 Tip: Cotton yarn gives your tote structure and durability, while acrylic makes it softer and lighter.
✅ Crochet Hook
- Size 4 mm (G-6) or 4.5 mm (7) — depending on your yarn label.
✅ Other Tools
- Yarn needle (for weaving in ends)
- Scissors
- Stitch marker (optional)
- Measuring tape
- Two bag handles (wooden, leather, or crocheted straps — optional)
🧶 Basic Stitches You’ll Use
If you’re new to crochet, here are the few stitches you need to know:
| Abbreviation | Stitch Name | Description |
|---|---|---|
| ch | chain | The foundation stitch |
| sl st | slip stitch | To join or close rounds |
| dc | double crochet | Main stitch used in granny patterns |
| sp | space | The gap between stitches |
That’s it! These are all you’ll need to complete this entire tote bag.
📏 Size and Gauge
For this pattern:
- The rectangle base can be customized to your liking — a small base for a purse, or a larger one for a beach tote.
- Standard size: Base = 10 in (25 cm) × 6 in (15 cm)
- Height of bag: 12–14 inches (30–35 cm)
Gauge isn’t crucial for this project, as you can adjust the rounds to achieve your preferred size.
🌈 Color Planning
Granny-style projects shine when you mix colors creatively. Here are a few color scheme ideas:
- Classic Vintage: Cream, orange, brown, mustard
- Modern Neutrals: Beige, white, taupe, grey
- Vibrant Pop: Pink, turquoise, lime, yellow
- Monochrome: Shades of one color, like light to dark blue
🧶 Step-by-Step Instructions
Let’s crochet your granny rectangle tote bag step by step!
🧡 Step 1: Start with a Foundation Chain
- Begin by chaining 26 (this creates the starting length of your rectangle base).
- You can make it shorter or longer depending on how wide you want your tote.
- In the 4th chain from the hook, work:
- 3 dc, skip 2 chains, 1 dc, ch 1, 1 dc into the next chain.
- Continue this pattern (3 dc clusters separated by ch-1 spaces) until the last chain.
- At the end of the chain, work 3 dc, ch 2, 3 dc into the last chain to turn the corner.
- Now continue working on the opposite side of the chain, mirroring the first side.
- When you reach the other end, again 3 dc, ch 2, 3 dc in the same stitch to form the second corner.
- Join with a slip stitch to the top of the beginning chain 3.
You now have your rectangle base — this is the foundation for your tote bag.
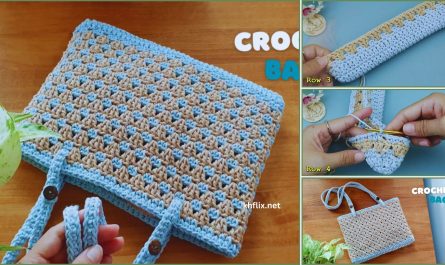
🧡 Step 2: Building the Granny Rectangle Rounds
Now you’ll build up the rectangle by working around it in rounds, similar to how you would with a granny square.
Round 2:
- Slip stitch into the next space between 3-dc clusters.
- Chain 3 (counts as first dc), then 2 dc in the same space, ch 1, 3 dc in the next space around.
- At each corner, work (3 dc, ch 2, 3 dc) into the corner space.
- Continue until you reach the start; join with sl st to the top of the chain-3.
Round 3 and Beyond:
- Repeat the same pattern:
- 3 dc clusters in each ch-1 space.
- (3 dc, ch 2, 3 dc) in each corner space.
- Join with sl st at the end of every round.
- Change color every 2 rounds (optional) for a classic multi-color look.
🪄 Tip: Keep working until your rectangle reaches the size you want — around 10 inches × 6 inches for the base.
🧡 Step 3: Building the Bag Body (Sides)
Once your rectangle base is the desired size, you’ll start crocheting upward to form the bag walls.
- Choose one of your colors (or continue with the same).
- From any stitch on the edge, attach yarn and chain 3.
- Work 1 dc in each stitch and 1 dc in each ch-1 space all the way around.
- Join with a sl st.
This first round will make your rectangle base start to curl upward, forming the bag shape.
- Continue working dc in each stitch around for 12–15 rounds, depending on how tall you want your tote bag.
You can change colors every few rounds for stripes or keep it solid for a modern look.
🧡 Step 4: Shaping and Finishing the Top Edge
- When the bag is the height you like, work 2 rounds of single crochet (sc) around the top edge to make it sturdy.
- Fasten off and weave in all ends neatly using a yarn needle.
Optional: Add a final round of reverse single crochet (crab stitch) for a decorative edge.
🧡 Step 5: Adding Handles
There are several handle options you can choose:
Option 1: Crocheted Handles
- Chain 80–100 (depending on desired strap length).
- Work 2 rows of sc back and forth to make them thicker.
- Sew each end securely onto the top inside of the bag.
Option 2: Wooden or Leather Handles
- Simply sew or crochet them onto the top edge for a modern finish.
Option 3: Rope Handles
- Thread thick rope through the top stitches and knot inside for a rustic beach tote look.
🧡 Step 6: Lining (Optional but Recommended)
Adding a lining makes your tote more durable and prevents stretching.
- Cut a piece of cotton fabric the same size as your bag.
- Sew the sides and bottom using a sewing machine or hand-stitch.
- Insert it inside the bag and hand-stitch it neatly around the top edge.
- Optional: Add a zipper, snap button, or magnetic clasp for closure.
🧵 Tips for Beginners
- Keep your tension even for a uniform look.
- If your rectangle starts curving, check that your corners have correct stitch counts (3 dc, ch 2, 3 dc).
- Use contrasting colors to make each round stand out beautifully.
- Weave in ends as you go — it saves time later!
- Don’t rush — enjoy the process; each round builds something lovely.
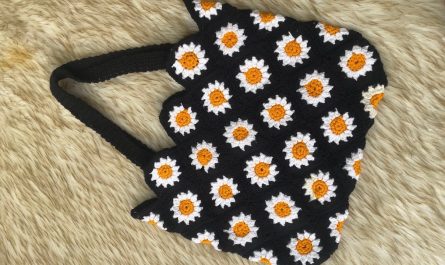
🎨 Design Variations
Once you’ve mastered the basic granny rectangle, you can try:
- Solid Color Tote: Single color for a minimalist look.
- Striped Tote: Alternate colors every few rounds.
- Boho Tote: Use bright, mixed colors and fringe.
- Beach Bag: Use raffia or jute yarn for a natural, textured finish.
- Mini Tote: Stop after a few rounds for a cute clutch-sized bag.
🧡 Care and Maintenance
- Wash by hand in cold water with mild soap.
- Lay flat to dry to keep its shape.
- Avoid hanging heavy items to prevent stretching.
- Store flat when not in use.
💬 Final Thoughts
Crocheting a granny rectangle tote bag is the perfect beginner project that balances simplicity with creativity. Using just a few basic stitches, you can craft a beautiful, sturdy, and stylish tote that reflects your personal style.
Whether you’re heading to the market, beach, or coffee shop — this handmade bag will be your favorite companion. The joy of carrying something you made with your own hands is incomparable!
So grab your hook, pick your favorite yarn colors, and start your journey into the world of granny rectangle crochet. Before long, you’ll not only have a gorgeous tote — you’ll also have a new favorite hobby.