 by
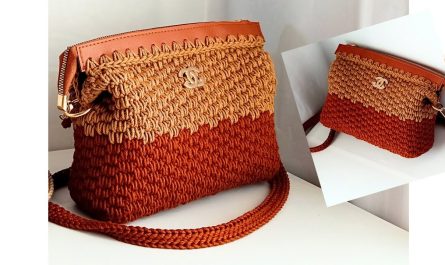
by Crochet mini bags are one of the most joyful projects any crafter can dive into — quick, cute, and endlessly customizable. Whether you’re brand new to crochet or simply looking for a relaxing, instant-gratification project, this Easy & Simple Crochet Mini Bag tutorial will guide you step-by-step through creating a tiny yet charming accessory.
This pattern is truly beginner-friendly: no complicated stitches, no shaping headaches, and no advanced techniques. Just pure creativity, yarn, and fun. Let’s stitch something marvelous together! 🦋💖✨

🌸 Why Crochet a Mini Bag?
Mini bags have become a trendy handmade accessory — and it’s no surprise why!
💖 Quick to make
Most can be finished in under 2 hours.
💖 Beginner-friendly
Uses only basic stitches.
💖 Perfect gift idea
Handmade with love + adorable = unforgettable.
💖 Customize endlessly
Colors, straps, appliqués, charms, bows… the possibilities are endless!
💖 Great for everyday use
Ideal for carrying small essentials: keys, lip balm, AirPods, cards, coins.
This project is both practical and full of personality.
🧶 Materials You Will Need
You only need simple supplies:
✔ Yarn
- Worsted weight (Medium/4) cotton or acrylic
- Cotton = structured, firm, durable
- Acrylic = soft, flexible, more “squishy”
✔ Hook
- 5.0 mm (H/8) crochet hook
(4 mm works too for tighter texture)
✔ Notions
- Scissors
- Yarn needle
- Optional: button, beads, ribbon, appliqués, charm 🦋💖
💗 Basic Stitches Used
This mini bag is perfect for beginners because it only uses:
- CH – Chain
- SC – Single Crochet
- SL ST – Slip Stitch
- INC – Increase (2 SC in 1 stitch)
If you’re comfortable with these, you’re ready to start!
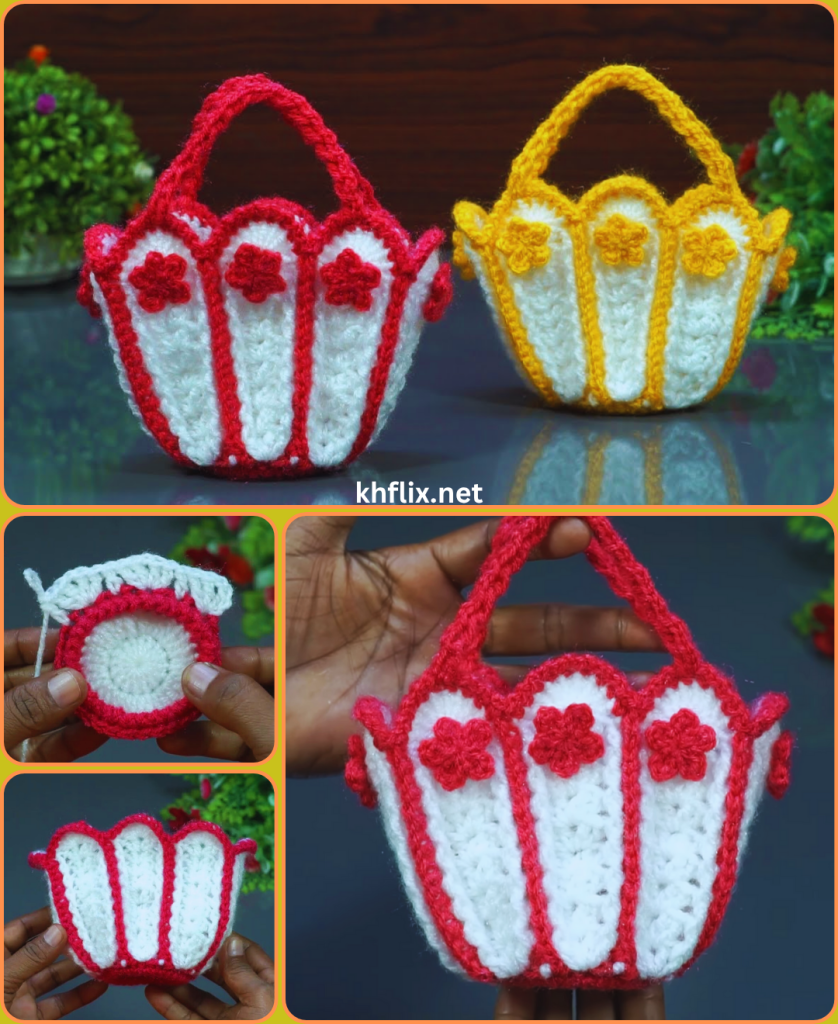
🦋 Easy & Simple Crochet Mini Bag Pattern (Step-by-Step)
We’ll create a small flat base first, then crochet upward to form the body of the bag.
📍 Step 1: Make the Base
The foundation of the mini bag begins with a rectangle.
- CH 18
(This forms the width — adjust as needed.) - Row 1: SC in the 2nd chain from hook and across. (17 SC)
- Row 2–10: CH 1, turn, SC across.
You now have a tidy rectangle — simple and perfect for a mini bag.
✔ Want it bigger?
Add more starting chains or rows.
📍 Step 2: Crochet Around the Rectangle
Without fastening off:
- Work SC evenly around the entire rectangle.
- Place 3 SC in each corner for smooth turning.
- SL ST to the beginning stitch.
This forms the base edge and prepares you to start crocheting in the round.
📍 Step 3: Build the Mini Bag Body
Now the bag starts taking shape!
Rounds 1–12:
- SC all the way around
- SL ST to join at the end of each round
- Do not increase — the sides will rise straight up
Your mini bag will grow like a cute little box.
✨ Optional Textures
- Work 1 round in Back Loop Only (BLO) for a decorative line
- Add color stripes
- Try a round of puff stitches for decoration
📍 Step 4: Finish the Top Edge
A neat topping makes the mini bag look professionally made.
- Final Round: SL ST loosely around the top edge.
- Fasten off.
- Weave in loose ends.
Now your mini bag has a clean, polished finish.
🎀 Step 5: Add the Strap
Choose your favorite strap style depending on the look you want.
💕 Option A: Simple Chain Strap (Quick & Cute)
- Attach yarn to one side.
- CH 90–120 (depending on desired length).
- Attach to the opposite side with a SL ST.
- Optional: SC back along the chain for a thicker strap.
💕 Option B: Short Mini Handle
- CH 35
- SC across for 2 rows
- Sew ends securely to the inside of the bag
This gives a cute, tiny handbag look.
💕 Option C: Twisted Cord Strap
- CH 80
- Twist tightly
- Fold in half
- Allow it to twist naturally
- Sew both ends to the bag
This creates a rope-style aesthetic that’s stylish and sturdy.
🦋 Step 6: Optional Closure & Decorations
Make your mini bag unique! 💖
🎀 Closure Options:
- Button + chain loop
- Magnetic snap
- Ribbon tie
- Beaded loop
- Decorative toggle
💗 Decoration Ideas:
- Crochet butterfly appliqué 🦋
- Mini flowers 🌸
- Hearts 💖
- Pearl beads
- Embroidered initials
- Tassels or pom-poms
- Ribbon bow
- Glitter yarn edging
These add personality and charm to your creation.
🌈 How to Use Your Mini Bag
This small but mighty bag is surprisingly useful:
- Everyday mini essentials
- Cute gift for friends
- Coin pouch
- Earbud or charger bag
- Kids’ mini purse
- Bag charm (attach to a larger tote)
- Small makeup pouch
- Travel mini organizer
A tiny bag with BIG possibilities!
💡 Helpful Tips for Beginners
- Keep your tension even for neat stitches
- Use cotton yarn for a structured result
- Use a stitch marker to track each round
- Don’t crochet too tightly, or the bag will curl
- Sew straps firmly for support
- Block lightly if you want a smooth shape
❓ Frequently Asked Questions
Q: Can I make this mini bag bigger?
Yes! Increase the starting chain and add more rows to the base.
Q: Is this pattern good for beginners?
Absolutely — it uses only single crochet and chains.
Q: Can I line the bag?
Yes! A small fabric lining gives extra strength.
Q: Can I use different yarn?
Any weight works — just adjust your hook size accordingly.
💖🦋 Final Thoughts: A Marvelous Mini Bag Made With Love
Crocheting this Marvelous°!!💖🦋 Mini Bag is not just a craft — it’s a joyful moment of creativity. With simple stitches, quick construction, and endless ways to customize, this pattern is perfect for anyone wanting a cute and satisfying project.
Whether you’re gifting it or keeping it for yourself, this easy & simple crochet mini bag carries both practicality and personality — a tiny masterpiece filled with handmade charm. 🌸✨
If you’d like, I can create:
- A PDF version
- A stitch chart / diagram
- A kawaii or butterfly-themed variation
- A larger handbag version
- A video tutorial script
Just let me know! 💖🦋