 by
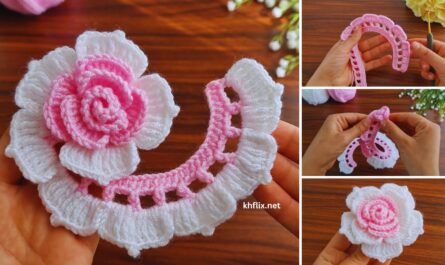
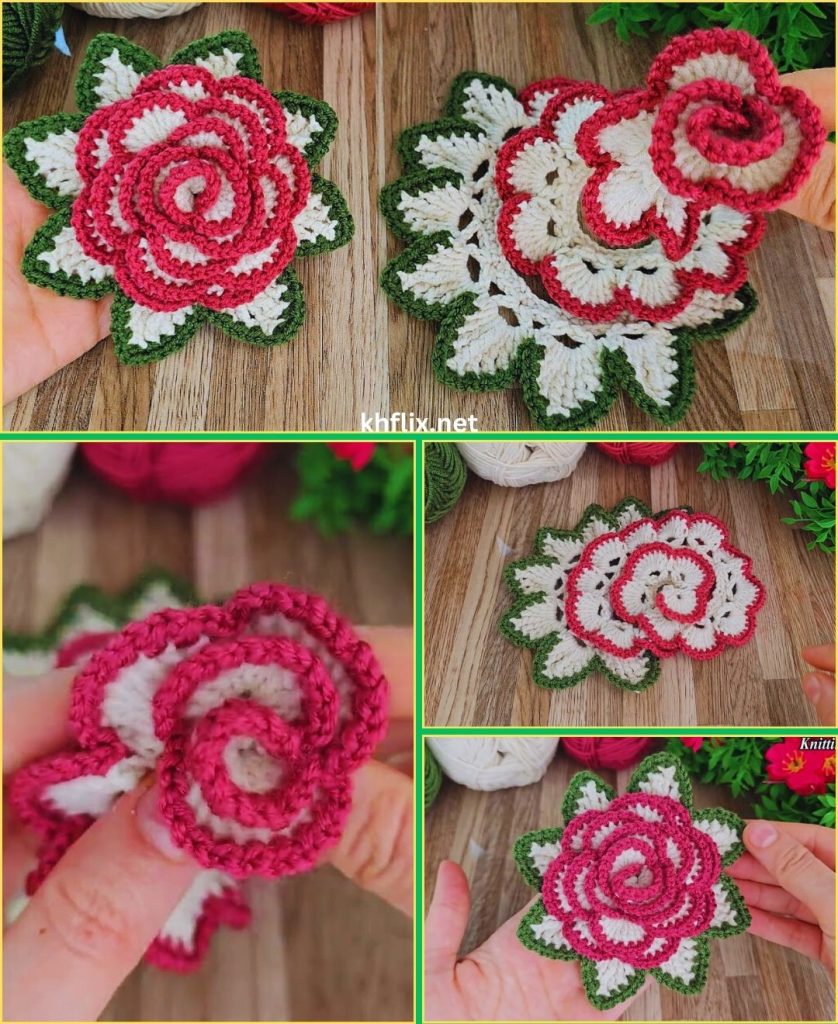
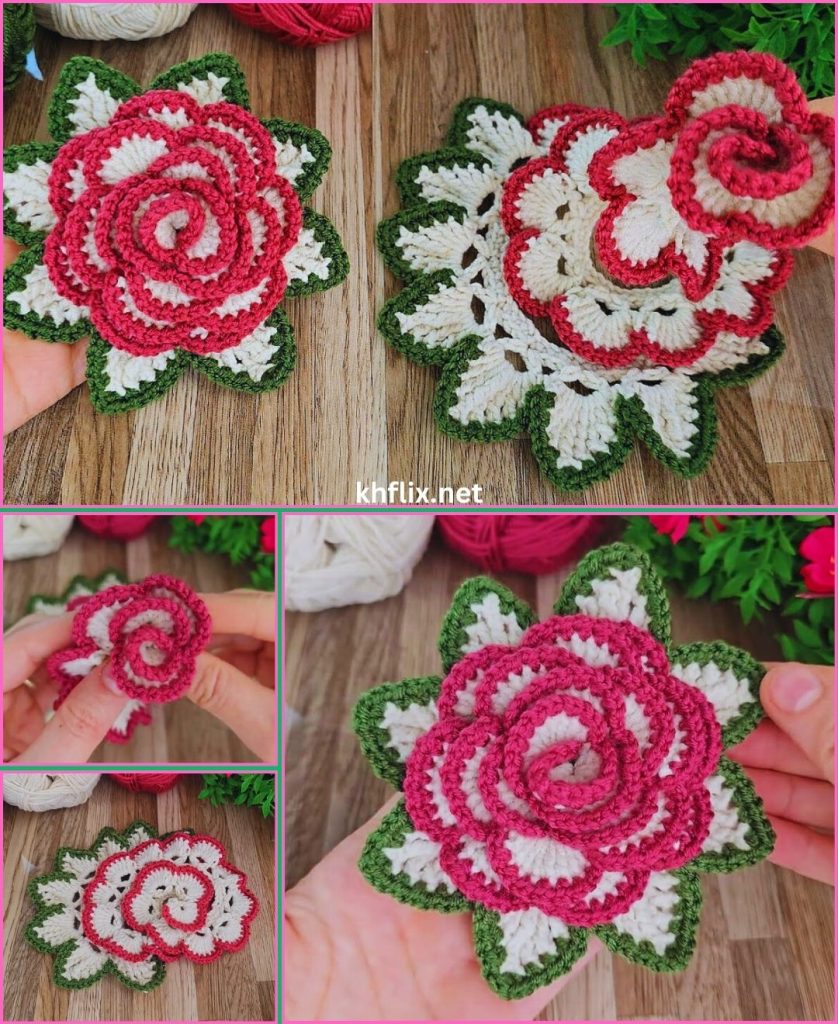
by Crocheting a 3D rose is one of the most satisfying flower projects for beginners and experienced crocheters alike. Unlike flat roses, a 3D crochet rose has volume, depth, and realistic petal curves—giving the finished flower a lifelike appearance. With the right technique and a bit of patience, you can create roses that look beautiful as home décor, wedding bouquets, accessories, or meaningful handmade gifts.
This detailed tutorial will guide you step-by-step through making a fully 3D crochet rose with realistic petals and leaves, perfect for crocheters of all levels.
🌹 Why Make a 3D Crochet Rose?
A 3D crochet rose has:
- Natural shaping
- Curved petals that stand up instead of lying flat
- Layered depth for realism
- Customizable size and fullness
- An elegant look for any project
These roses look stunning in:
- Bouquets
- Bridal accessories
- Home arrangements
- Brooches
- Hair clips
- Gift embellishments
If you’ve ever wanted to crochet a flower that truly looks alive—this is the perfect project.
🧶 Materials You’ll Need
Yarn
- Size 3 or 4 medium-weight yarn
- Cotton yarn gives crisp petals
- Acrylic yarn gives a softer, fuller look
- Choose your rose color:
- Red (classic rose)
- Pink, yellow, peach, lavender
- Multicolor or variegated for unique effects
Crochet Hook
- 3.0 mm–4.0 mm hook
- Choose a size that works well with your yarn tension
Additional Tools
- Yarn needle
- Scissors
- Floral wire + floral tape (for stems)
- Stitch marker (optional)
- Hot glue gun (optional)
🧵 Stitches & Abbreviations
You only need basic stitches:
- CH – Chain
- SC – Single Crochet
- DC – Double Crochet
- HDC – Half Double Crochet
- SL ST – Slip Stitch
- INC – Increase
This pattern is perfect for beginners who know these fundamentals.
🌺 Understanding the 3D Rose Construction
A 3D crochet rose is made in three simple parts:
- Inner Tight Petals (Rosebud)
- Outer Large Petals (Open Bloom)
- Leaves and Stem
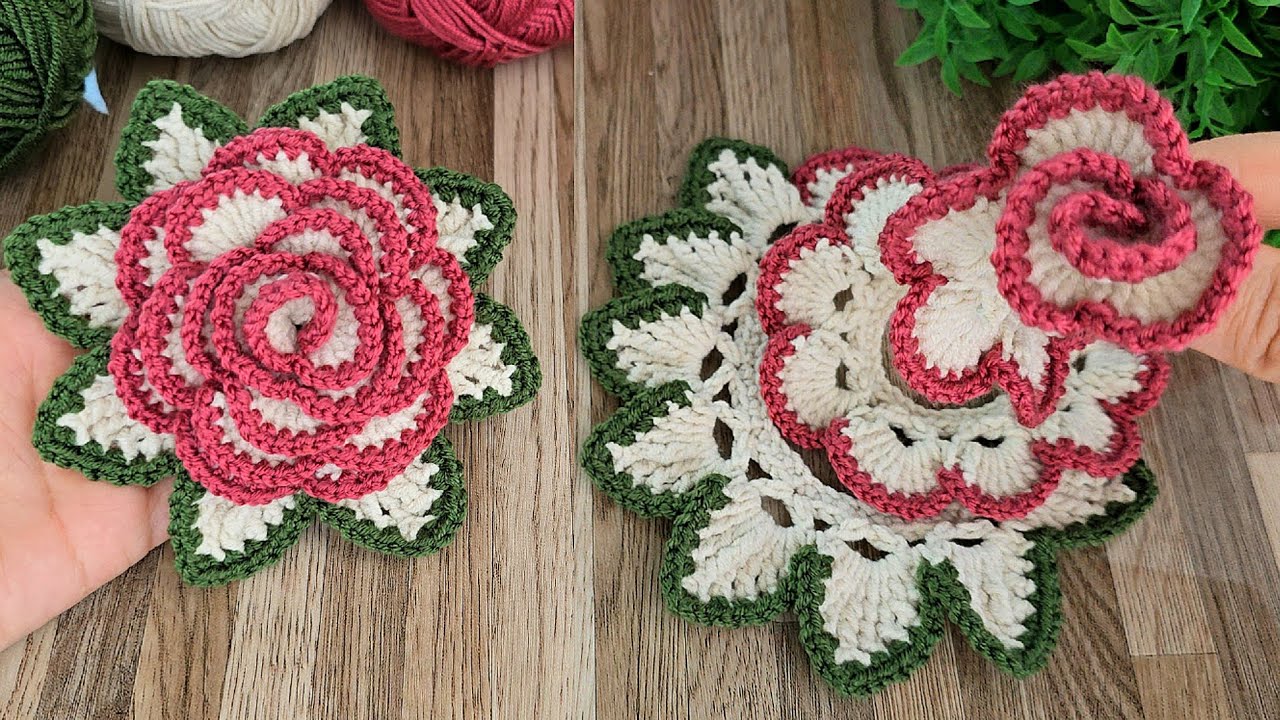
Unlike flat roses that are rolled from a single strip, this 3D version uses individual petals that are shaped and assembled for a fuller, more realistic bloom.
This method gives you:
- Better volume
- More natural petal contours
- High realism
⭐ Step-by-Step: 3D Crochet Rose Tutorial
🌹 Part 1: Make the Inner Petals (Rosebud)
Round 1
- CH 12
- Starting in the 2nd CH from hook, work SC across the row
- You now have a foundation strip
Round 2 (Form the tight petals)
Across the row:
- In first stitch: 2 DC, CH 1, 2 DC
- SL ST in next stitch
- Repeat the petal pattern across:
(2 DC, CH 1, 2 DC in one stitch → SL ST in next)
You should now have small curved petals.
Roll and Shape
- Start rolling tightly to form a rosebud center
- Secure with yarn needle and stitches at the base
This will form the “heart” of the rose.
🌹 Part 2: Create Bigger 3D Petals
Now we make larger outer petals that stand away from the flower, giving the rose its 3D look.
Make 5–7 Outer Petals
For each petal:
Petal Pattern:
- CH 8
- Row 1: SC in 2nd CH from hook, SC to end
- Row 2:
- CH 1, turn
- HDC in first stitch
- DC in next 4 stitches
- HDC in next
- SC in last
This shapes a curved natural petal.
Petal Ruffling Row
To add realism:
- Work SC, HDC, DC, DC, HDC, SC evenly around the outer edge
- This gives a slightly curled look
Make 5–7 petals depending on how full you want your rose.
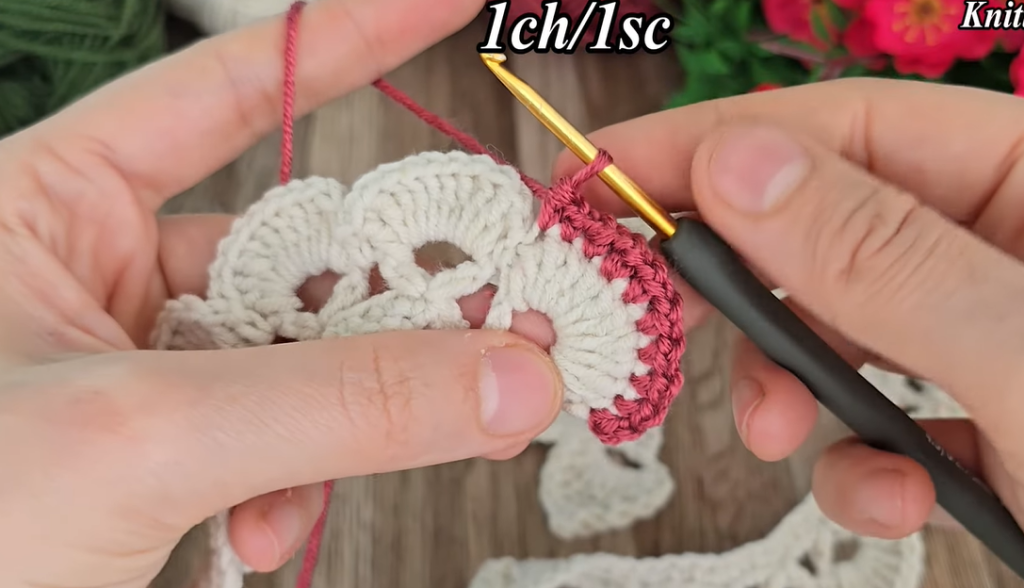
🌹 Part 3: Attach Outer Petals (3D Construction)
Now we attach petals individually for a layered bloom.
Step 1: Attach the First Petal
- Place one large petal around the rosebud
- Sew along the base
- The petal should cup the rosebud naturally
Step 2: Add More Petals
- Add each petal slightly overlapping the previous one
- Sew securely
- Space petals evenly for a real rose shape
- Curve top edges slightly outward with your fingers
As you attach layers, your rose becomes beautifully 3D and full.
🍃 Part 4: Crochet the Leaves
A rose without leaves is incomplete! Here’s an easy, realistic leaf pattern.
Leaf Pattern (Life-like Shape)
- CH 10
- Row 1:
- SC in 2nd CH from hook
- HDC in next
- DC in next 3
- HDC in next
- SC in next
- SL ST into last stitch
- Turn and work around the other side of the chain:
- SL ST
- SC
- HDC
- DC (3 times)
- HDC
- SC
- SL ST to join
This forms a sharply pointed, realistic leaf.
Make 2–3 leaves, depending on your preference.
🍃 Part 5: Attach Leaves and Stem
Option 1: Threaded Stem
- Insert floral wire through the rose base
- Wrap wire with floral tape
- Stitch leaves along the stem
- Bend wire slightly for natural posture
Option 2: Crochet Stem
- CH 25–40
- SC into each chain
- Attach to flower base
- Sew leaves along the stem
Option 3: No Stem
Perfect for:
- Hair clips
- Brooches
- Gift décor
- Table flowers
Just sew leaves under the base.
💡 Tips for Making Your Rose Look Ultra-Realistic
✔ Use cotton yarn for clean petal edges
✔ Block petals gently to set shape
✔ Curl edges slightly with fingers while sewing
✔ Add petals loosely—don’t crowd too tightly
✔ Mix petal sizes for natural variation
✔ Use variegated yarn for color-depth roses
✔ Make a green sepal (optional) for realism
🌈 Color Variations & Ideas
Classic Colors
- Red – love & romance
- Pink – elegance
- White – purity
- Yellow – friendship
- Lavender – charm
Creative Options
- Ombre petals (gradient yarn)
- Two-tone roses (outer petals darker than inner petals)
- Rainbow 3D roses
- Metallic yarn for luxury roses
🌼 What to Use Your 3D Crochet Rose For
- Bridal bouquets
- Centerpiece arrangements
- Hair accessories
- Bag embellishments
- Corsages
- Wall art
- Gift-box toppers
- Wreaths
- Home décor in vases
The possibilities are endless!
❓ Frequently Asked Questions
Q1: How long does it take to make a 3D rose?
Beginners may take 1–2 hours.
Experienced crocheters can complete it in 30–45 minutes.
Q2: Can I use fine or chunky yarn?
Yes!
- Fine yarn = delicate miniature roses
- Chunky yarn = large statement roses
Q3: Will the petals stay standing?
Yes—if sewn tightly at the base and shaped correctly.
🌹 Conclusion
Crocheting a 3D rose with leaves is a beautiful, creative, and surprisingly accessible project for beginners. With just a few basic stitches and simple shaping techniques, you can create a realistic rose that looks stunning from any angle. Whether you’re making a bouquet, a hairpiece, or a special gift, this 3D crochet rose adds elegance and charm to any handmade creation.
Take your time with each petal, enjoy the creative process, and watch your rose bloom right in your hands. 🌹✨
If you’d like, I can also create:
✔ A printable PDF pattern
✔ A beginner-friendly video script
✔ A diagram / chart version of the pattern
✔ A larger or smaller rose variation
Just tell me!