 by
by Absolutely! Here’s a detailed, step-by-step guide for making a beautiful Crochet Flower Granny Square Bag, perfect for beginners and intermediate crocheters alike. This pattern combines classic granny squares with 3D crochet flowers, resulting in a colorful, trendy, and functional bag for daily use, markets, or gifts.
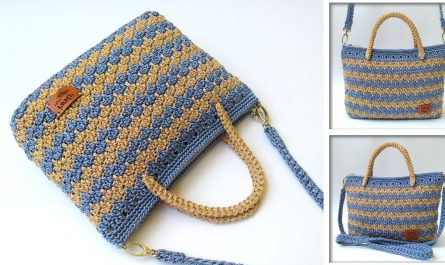
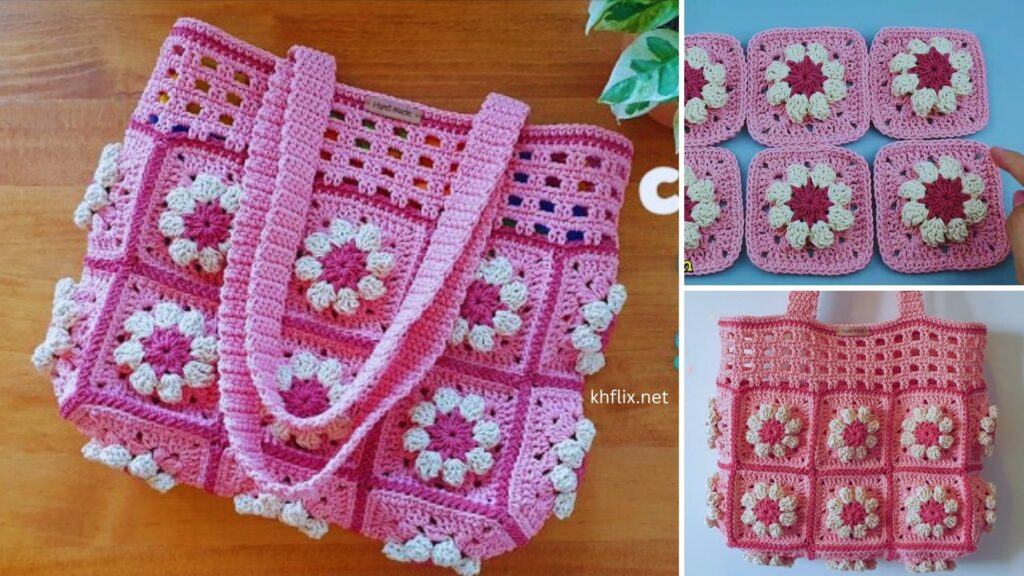
👜 How to Crochet a Flower Granny Square Bag – Step-by-Step Pattern
Crochet granny square bags are timeless, and adding floral motifs makes them even more charming. In this tutorial, you’ll learn how to create a flower-in-the-center granny square, assemble multiple squares, and turn them into a stylish, durable shoulder or tote bag.
🌟 What You’ll Love About This Project:
- Combines floral aesthetics with functional design
- Customizable size, colors, and straps
- Great stash-busting project
- Teaches you granny square technique, joining methods, and bag assembly
🧵 Materials Needed:
| Item | Details |
|---|---|
| 🧶 Yarn | Worsted weight (category #4) cotton or acrylic yarn in 3–5 colors |
| 🪝 Hook | 4.0 mm or 4.5 mm crochet hook |
| ✂️ Scissors | For trimming yarn |
| 🧷 Yarn needle | For sewing and weaving in ends |
| 🧵 Lining fabric (optional) | For sewing an inner lining |
| 🪡 Needle & thread (optional) | For hand-stitching lining |
| 👜 Bag handles (optional) | Leather or crochet handles |
📏 Finished Size:
- Approximately 12″ x 12″ bag body (depending on yarn and hook)
- Adjustable strap length (handheld, shoulder, or crossbody)
- Expandable with more squares for a larger size
🔤 Crochet Abbreviations (US Terms):
- CH – Chain
- SL ST – Slip Stitch
- SC – Single Crochet
- DC – Double Crochet
- TR – Treble Crochet
- SP – Space
- ST(S) – Stitch(es)
- INC – Increase
🧶 Step-by-Step Pattern
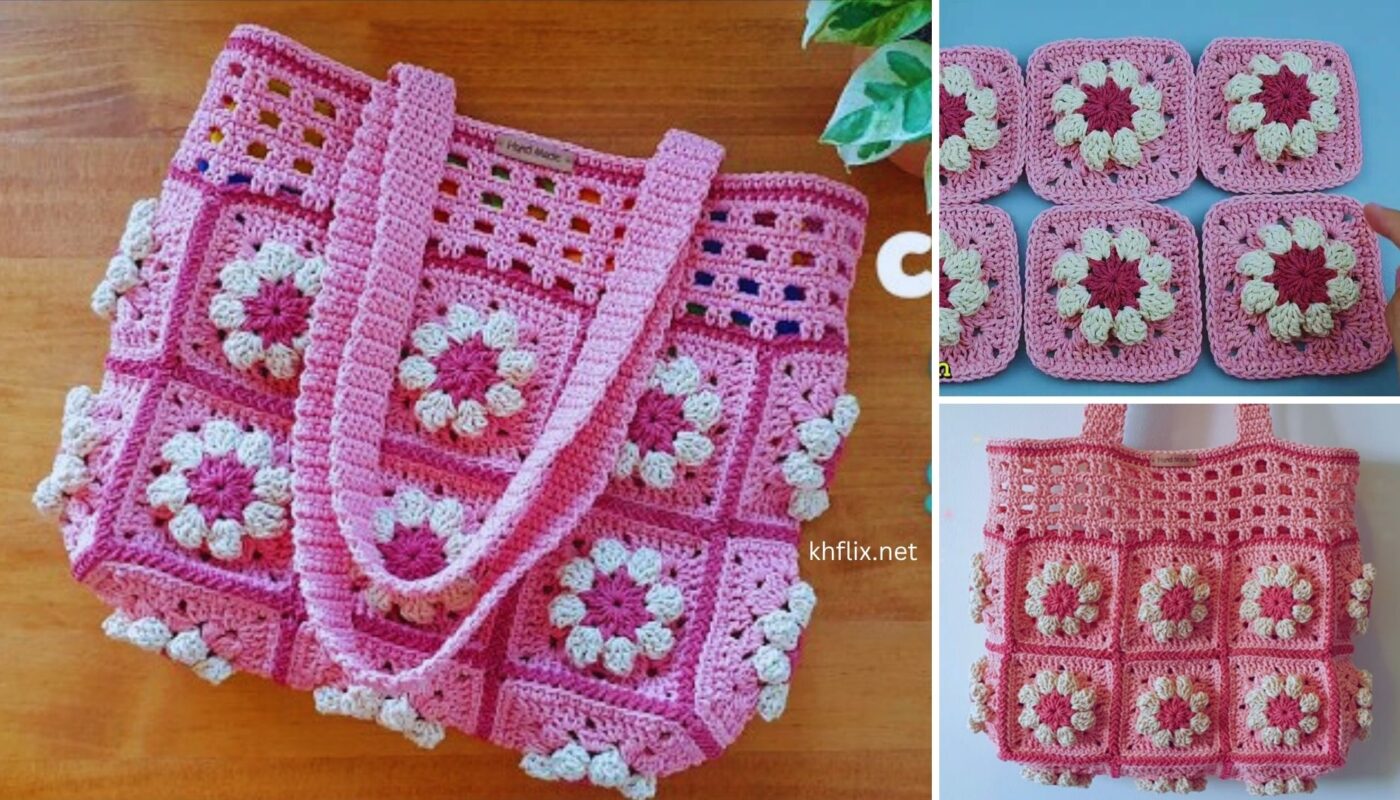
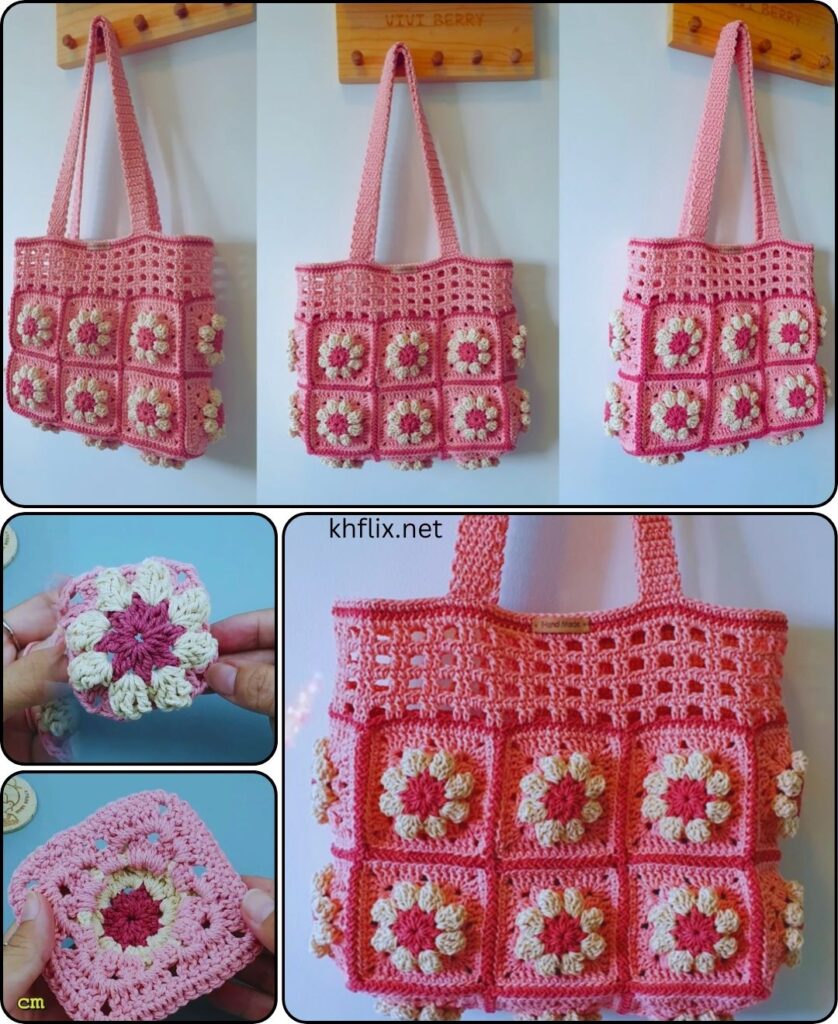
🪷 Step 1: Make the 3D Flower (Center of Granny Square)
Choose 2 colors: one for the flower center, one for petals.
Round 1: Flower Center
- Using Color A (center):
- Make a magic ring, CH 2 (does not count as a stitch), work 12 DC into the ring.
- Join with SL ST. (12 sts)
- Fasten off.
Round 2: Petals (Use Color B)
- Join yarn into any stitch.
- (CH 2, 3 DC, CH 2, SL ST) in the same stitch – 1 petal made.
- Repeat in each stitch around (12 petals total).
- Fasten off.
You now have a full 3D flower!
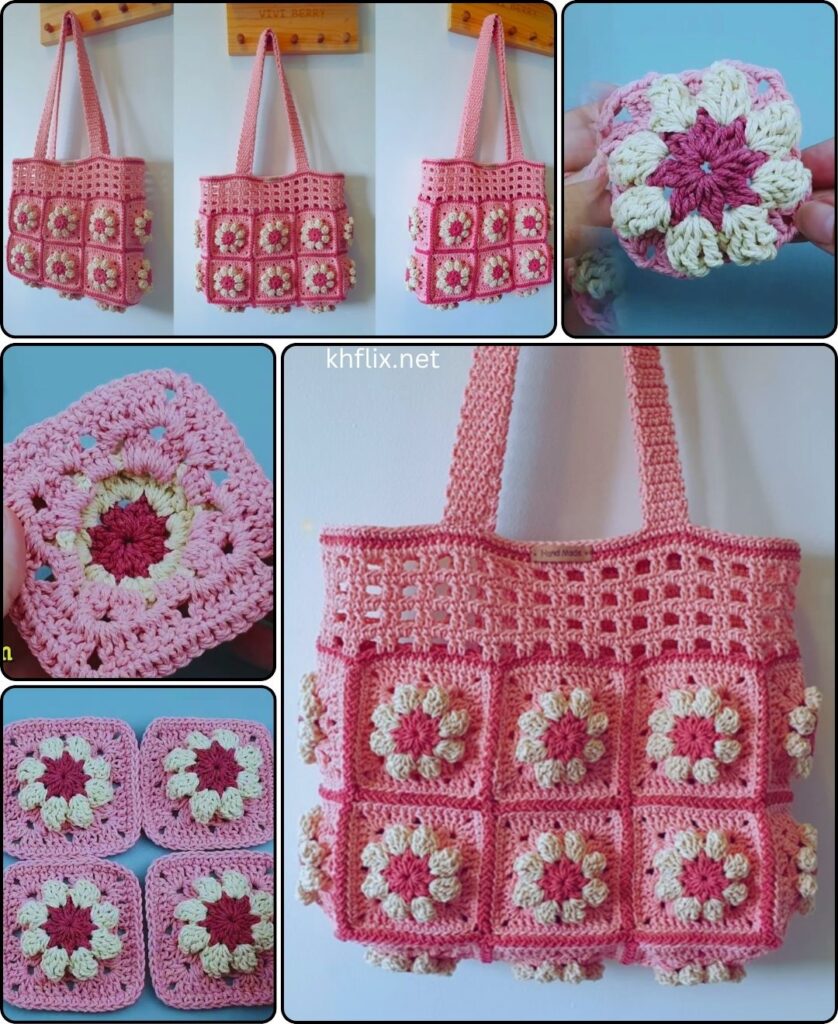
🧵 Step 2: Turn the Flower into a Square
Round 3: Square Foundation (Color C)
- Join yarn in any space between 2 petals.
- CH 3 (counts as DC), 2 DC in same space.
- (CH 1, 3 DC in next space between petals) repeat around.
- Join with SL ST. You now have a round with 8 clusters of 3 DCs.
Round 4: Form Corners
- CH 3 (counts as DC), 2 DC in same space.
- In next CH-1 SP: 3 DC.
- In next SP: (3 DC, CH 2, 3 DC) — this is a corner.
- Repeat: (3 DC in next space, 3 DC + CH 2 + 3 DC in next) around.
- Make 4 corners total.
- Join and fasten off.
✅ You now have one flower granny square.
🪡 Step 3: Make Multiple Squares
For a standard medium bag, make:
- 13 squares total
- Front = 4 squares (2×2)
- Back = 4 squares (2×2)
- Sides & bottom = 1 row of 5 squares (forms a “U”)
✨ Want a bigger tote? Try a 3×3 layout (9 front, 9 back, 5 side/bottom = 23 squares)
🧩 Step 4: Join the Squares
Joining Options:
- Whip Stitch (sew together) – Align squares and stitch through back loops only.
- Slip Stitch Join – Place squares with wrong sides together, SL ST through both loops.
- Join-as-you-go (JAYG) – Advanced technique to attach during final rounds.
💡 Recommended: Join using SC or SL ST in back loops only for clean, flat seams.
- First, join front and back sets (2×2 layout).
- Then, join the side/bottom strip (5 squares in a line).
- Attach side/bottom strip around the front and back like a “U”.
🧵 Step 5: Add Border (Optional)
- Work SC evenly around the top edge of the assembled bag to clean the edge.
- You can add 2–3 rounds in contrasting color for design flair.
🧵 Step 6: Add Handles or Straps
Option A: Crochet Strap
- CH until desired length (e.g., 80–120 chains for shoulder or crossbody).
- Work 2–3 rows of SC or HDC back and forth.
- Attach ends securely to the inside top corners.
Option B: Pre-made handles
- Use leather or rope-style handles.
- Sew or rivet into the bag using strong thread or yarn.
🧵 Step 7: (Optional) Add Lining
- Cut fabric to match the bag dimensions.
- Sew the sides of fabric together.
- Insert inside the bag and hand-sew or machine-sew to the top edge.
- Add a zipper or magnetic clasp if desired.
🎨 Customization Ideas
| Option | Description |
|---|---|
| Color themes | Bright for summer, earth tones for boho look |
| Tassels or fringe | Add to sides or bottom for fun detail |
| Button flap | Add a flap with a button closure |
| Square designs | Use different granny square types (sunburst, daisy, puff) |
✅ Care Instructions
- Hand wash recommended or gentle cycle in cold water
- Lay flat to dry
- If lined, remove lining before washing (if not sewn permanently)
🧶 Pattern Summary
plaintextCopyEdit1. Make 13 flower granny squares (or more)
2. Assemble into front, back, and side/bottom panels
3. Join squares using slip stitch or whip stitch
4. Add top border rounds (optional)
5. Crochet or attach straps
6. Optional: Add fabric lining and closure
🎁 Perfect For:
- Everyday use
- Gifts (Mother’s Day, birthdays, holidays)
- Farmers markets or craft fairs
- Fashion accessories
📖 Final Thoughts
Crocheting a flower granny square bag is the perfect blend of creativity and function. This bag gives you room to experiment with color, texture, and techniques — all while creating something practical and beautiful.