by
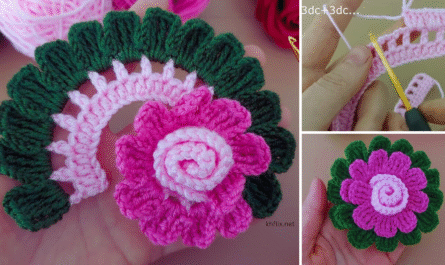
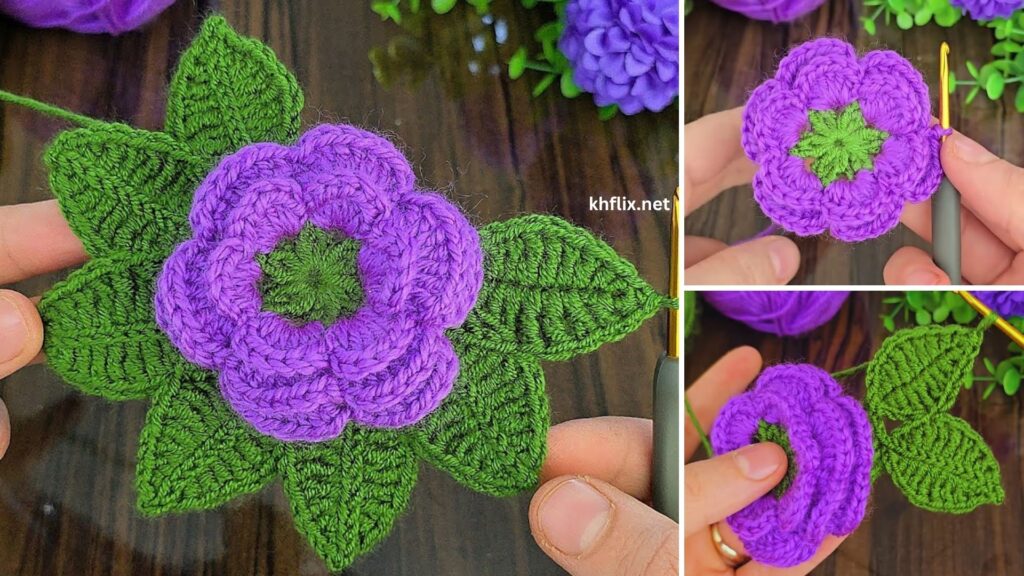
by Crocheting a beautiful rose flower is a wonderful project for beginners! It looks intricate, but the secret is in a simple technique: you crochet a flat strip that naturally curls, and then you roll it up to form the rose. This tutorial will guide you step-by-step to create a lovely, medium-sized rose that you can use to embellish headbands, bags, gifts, or simply admire on its own.

How to Make a Beautiful Crochet Rose Flower for Beginners
Project Overview: This pattern creates a charming, multi-layered rose head using basic crochet stitches. It’s designed to be straightforward for beginners, teaching you how stitch height variations create curves and how to assemble a simple flower.
Skill Level: Beginner (Requires knowledge of chain, single crochet, half double crochet, double crochet, and slip stitch).
Finished Rose Dimensions (Approximate):
- Diameter: 2.5 – 3.5 inches (6.5 – 9 cm), depending on your tension and yarn.
Materials You’ll Need:
- Yarn:
- Worsted Weight (Medium #4) Yarn: Approximately 20-30 yards (18-27 meters) in your preferred rose color (e.g., pink, red, white, yellow). Acrylic or cotton blends work well and are easy for beginners.
- Crochet Hook:
- Size H/5.0mm (or the hook size recommended on your yarn label. Aim for a fabric that is firm enough to hold shape but not too stiff.)
- Yarn Needle (Tapestry Needle): Essential for weaving in loose ends and sewing the rose together.
- Scissors
- Stitch Marker (Optional): Can be helpful for marking the first stitch of a row if you tend to lose your place, but less critical for this pattern.
Abbreviations Used:
- ch: chain
- sl st: slip stitch
- sc: single crochet
- hdc: half double crochet
- dc: double crochet
- st(s): stitch(es)
- FO: fasten off
Understanding How the Rose Forms: The “Ruffled Strip” Method
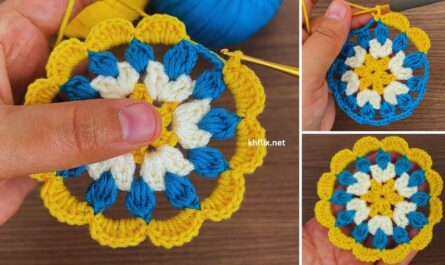
The magic of this rose lies in crocheting a simple flat strip where one edge is straight and the other is super “ruffly” or wavy. When you roll this ruffled strip up, the straight edge becomes the base of your rose, and the ruffles fan out to create the petals. Different stitch heights will create different sized ruffles, leading to a natural-looking flower.
Let’s Start Crocheting Your Rose!
We’ll start by making the long, ruffled strip that will become your rose.
Part 1: Crocheting the Petal Strip
- Foundation Chain (Main Rose Color):
- Ch 31. (This chain will form the base of your strip. For a slightly smaller rose, chain 26. For a slightly larger one, chain 36 or 41).
- Row 1 (Working into the Back Bumps of the chain – optional but neater):
- To find the back bump: Turn your chain over and look for the little “bumps” along the back. Working into these creates a neater bottom edge that looks like the top edge. If this is too tricky, just work into the top loops of the chain as usual.
- Sc in the 2nd ch from hook. Sc in each remaining ch across. (Total: 30 sc).
- Ch 1, turn.
- Row 2 (Creating the Ruffles – The Petals!):
- This row is where the magic happens! You’ll be working multiple stitches into single stitches from Row 1 to create the ruffles.
- For the First (Inner) Petal:
- Work (sc, hdc, dc) all into the first sc of Row 1.
- For the Next 9 Petals (Medium Size):
- Sl st into the next sc.
- Work (sc, hdc, dc, hdc, sc) all into the next sc.
- Repeat from * to * 9 more times. (You will have made 10 “petal sections” here.)
- For the Last 5 Petals (Larger Size):
- Sl st into the next sc.
- Work (sc, hdc, dc, dc, hdc, sc) all into the next sc. (Note: an extra DC to make them a bit bigger).
- Repeat from * to * 4 more times. (You will have made 5 “petal sections” here, finishing the row).
- You should now have a long strip that is very ruffled and wavy on one side, and relatively straight on the other. This is exactly what you want!
- FO, leaving a very long tail (at least 15-20 inches / 38-50 cm). This tail is essential for sewing your rose together securely.
Part 2: Forming the Rose
This is the exciting part where your ruffled strip transforms into a beautiful flower!
- Preparation: Lay your crocheted strip flat. You’ll notice it naturally wants to curl. The end where you started your chain and Row 1 is the part that will form the tight center of your rose. The ruffled edge will become the petals.
- Rolling the Bud: Take the very beginning of the strip (the end with the smaller petals). Starting tightly, begin to roll it inwards, forming the central bud of the rose. Keep it snug and neat.
- Continue Rolling: As you continue to roll the strip, it will naturally spiral. Guide the strip around the central bud. Allow the larger ruffled sections to layer slightly more loosely around the center, letting the petals fan out and overlap. This gives the rose a more open and natural appearance.
- Securing the Base: Once you’ve rolled the entire strip into your desired rose shape, hold the base firmly with one hand. Thread the long yarn tail you left earlier onto your yarn needle.
- Sewing the Rose: Begin stitching through all layers of the rose’s base, going back and forth, from one side to the other. Make sure your stitches penetrate every layer of the coiled strip to secure the spiral shape. Work your way around the entire base of the rose until it feels very sturdy and no longer wants to unravel. This can take several passes to ensure it’s tight.
- Finishing Base Stitch: When you’re satisfied with the security, weave in any remaining tail on the back of the rose.
Finishing Touches & Tips for a Beautiful Rose:
- Weave in All Ends: Double-check that all yarn tails are securely woven in and completely hidden. This creates a very professional and clean look.
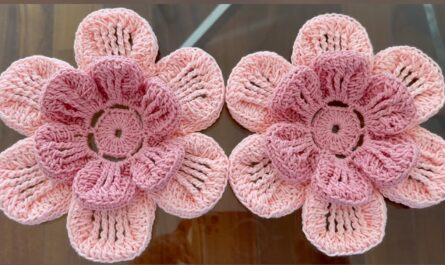
- Shaping the Petals: Once the rose is sewn together, gently “fluff” and shape the individual petals with your fingers. You can curl some outwards slightly for a more open look.
- Steam Blocking (Optional but Recommended): For the best possible shape and to help the rose lie flat (if needed) or hold its form, gently steam your finished rose. Hold a steam iron (or a clothes steamer) a few inches above the rose, allowing the steam to gently relax the fibers. Do NOT touch the iron directly to the crochet. While damp and warm, gently shape the petals again with your fingers. Let it cool and dry completely.
- Customizing Size:
- Bigger Rose: Start with a longer foundation chain (e.g., ch 41, ch 46, or ch 51). The more stitches in your foundation chain, the longer your strip, and the bigger your rose will be. You might also want to add more
dcortrstitches in the later petal sections to make them larger. - Smaller Rose: Start with a shorter foundation chain (e.g., ch 21 or ch 26).
- Bigger Rose: Start with a longer foundation chain (e.g., ch 41, ch 46, or ch 51). The more stitches in your foundation chain, the longer your strip, and the bigger your rose will be. You might also want to add more
- Color Variations:
- Use a single color for a classic rose.
- For a subtle variegated look, you could hold two strands of slightly different colored yarn together (e.g., light pink and dark pink) as you crochet.
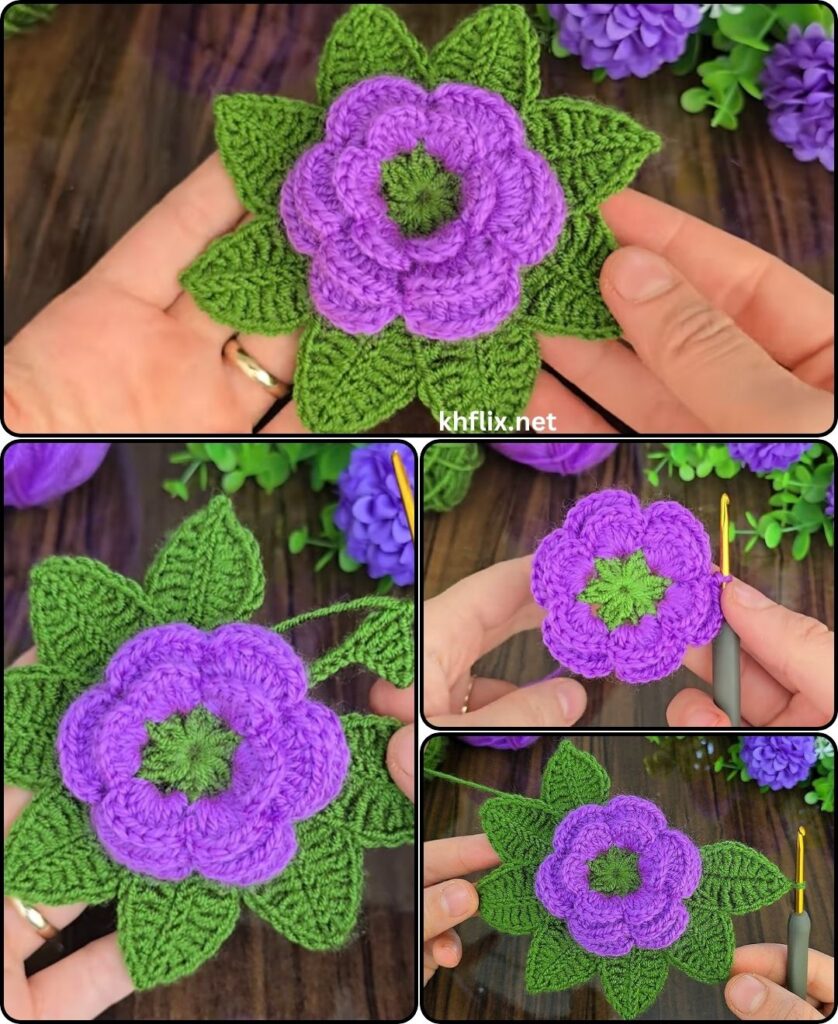
- Adding Greenery (for Beginners):
- Simple Leaves: Ch 7. Sl st in 2nd ch from hook. Sc in next ch. Hdc in next ch. Dc in next ch. Hdc in next ch. Sc in next ch. Sl st in last ch. FO, leaving a long tail. Make 2-3 and sew them to the back of your rose’s base.
- Uses: These roses are perfect for embellishing headbands, hats, bags, blankets, adding to gift wrapping, or making into brooches.
Enjoy creating your very own beautiful crochet rose!