by
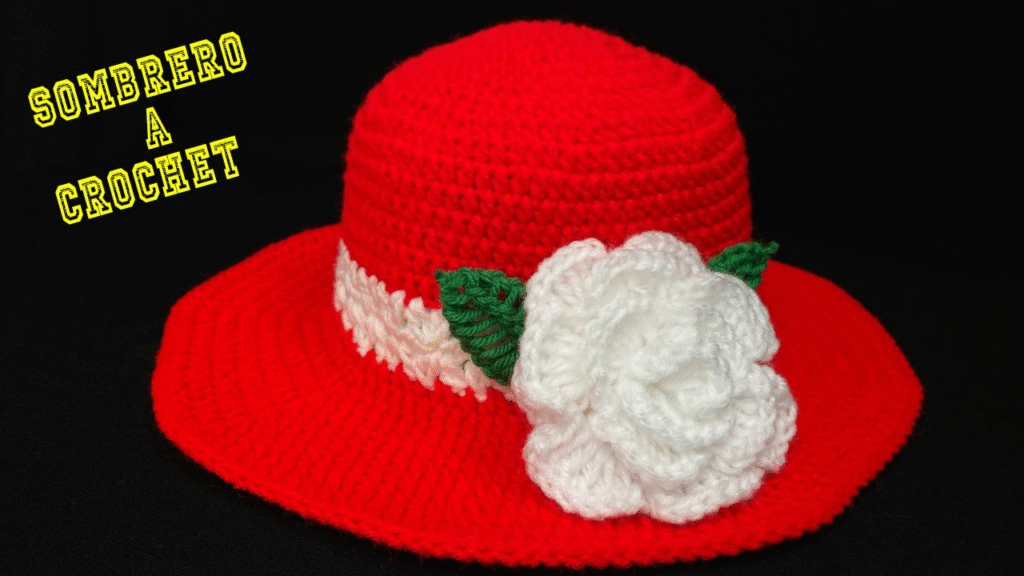
by Let’s crochet a stylish two-color hat! This detailed, step-by-step tutorial will guide you through creating a cozy and eye-catching beanie, perfect for adding a pop of color to your wardrobe or as a thoughtful handmade gift. We’ll use a simple stitch pattern that works up quickly and showcases your chosen two colors beautifully.
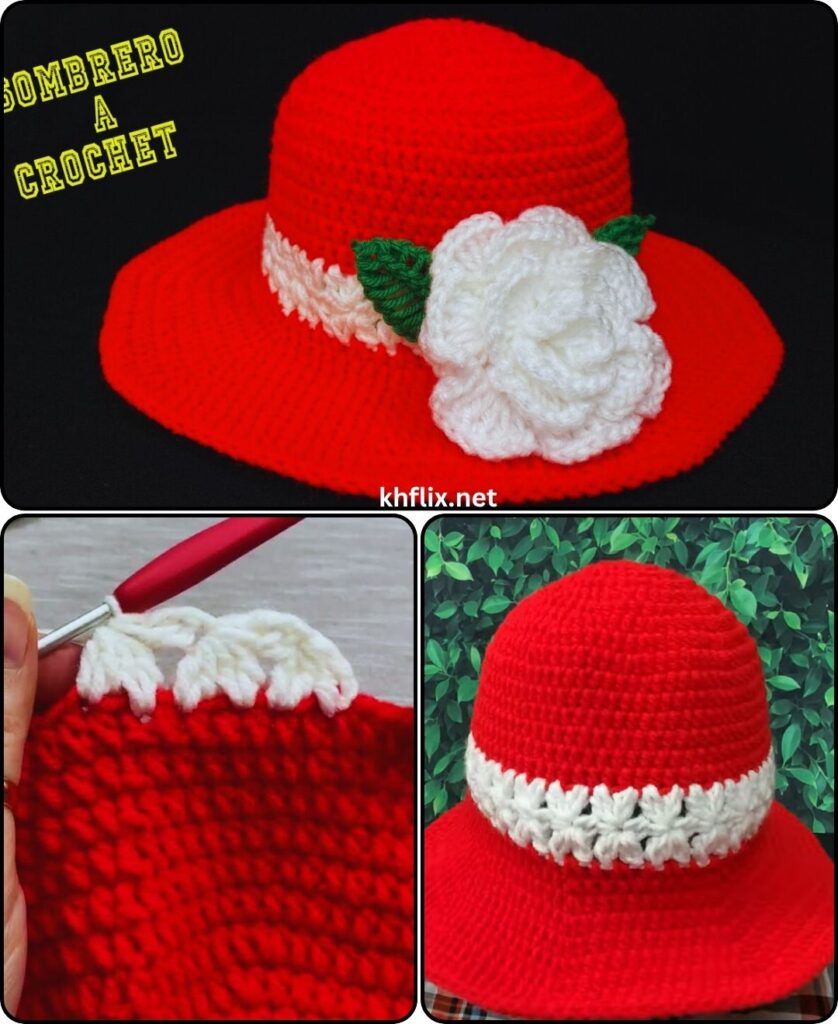
How to Crochet a Two-Color Hat: Step-by-Step Tutorial
This pattern creates a comfortable, slightly slouchy beanie, suitable for an adult.
Skill Level: Easy
You’ll need to be comfortable with:
- Basic crochet stitches: (chain, slip stitch, single crochet, half double crochet).
- Working in joined rounds.
- Creating a Magic Ring (or equivalent starting method).
- Performing clean color changes.
Finished Hat Dimensions (Approximate):
- Circumference: 20-22 inches (51-56 cm) – fits most adults.
- Height: 9-10 inches (23-25 cm) – slightly slouchy.
Materials You’ll Need:
- Yarn: Approximately 150-200 yards (135-180 meters) total of Worsted Weight (Medium #4) Yarn. Acrylic, wool, or a blend are great choices for hats due to their warmth and stretch.
- Color A: Approx. 80-100 yards (your main or base color).
- Color B: Approx. 70-100 yards (your accent color).
- Crochet Hook: Size H/5.0mm. Or the hook size that gives you a fabric dense enough to be warm but not too stiff.
- Yarn Needle (Tapestry Needle): Essential for weaving in ends.
- Scissors
- Stitch Marker (Recommended): Helpful for marking the beginning of rounds.
Gauge (Important for Hat Size!):
Getting your gauge right ensures your hat will be the correct size.
- In half double crochet: 13 hdc and 10 rows = 4 inches (10 cm).
- To check your gauge, chain 15, then hdc in the 3rd chain from the hook and in each chain across (13 hdc). Work for 10 rows. Measure your swatch. If it’s too small, go up a hook size; if it’s too big, go down a hook size.
Abbreviations Used:
- ch: chain
- sl st: slip stitch
- sc: single crochet
- hdc: half double crochet
- hdc inc: half double crochet increase (work 2 hdc into the same stitch)
- st(s): stitch(es)
- MR: Magic Ring (or Magic Circle/Adjustable Ring)
- FO: fasten off
- (): repeat instructions within parentheses a specified number of times.
- []: indicates the total number of stitches at the end of a round.
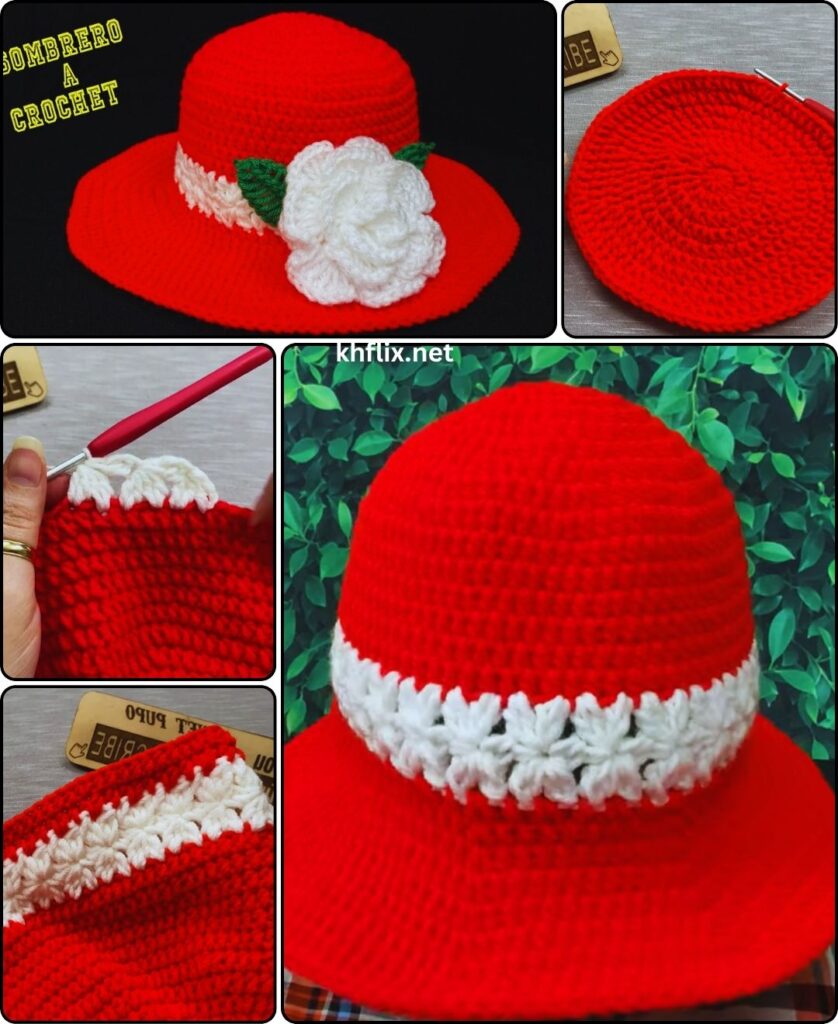
Understanding Hat Construction:
This hat is worked from the top down. We’ll start with a small circle, increase gradually to form the crown, then work straight down for the body, and finish with a brim.
How to Make a Clean Color Change in Joined Rounds:
This method creates a neat, almost invisible transition between colors.
- Work the last stitch of the current round with the current color as usual, but stop when you have two loops left on your hook.
- Drop the current color.
- Pick up your new color, yarn over with the new color, and pull it through the remaining two loops on your hook to complete the stitch.
- Now, using the new color, slip stitch into the first stitch of the round (or the top of your turning chain, if applicable) to join.
- Always cut the old color yarn, leaving a 4-6 inch tail. These tails will be neatly woven in later.
Let’s Start Crocheting Your Two-Color Hat!
Part 1: The Crown (Top of the Hat)
We’ll start with Color A.
- Start: Make a Magic Ring (MR).
- Round 1: Ch 2 (does NOT count as a stitch). Work 10 hdc into the MR. Pull the tail tightly to close the ring. Sl st to the top of the first hdc to join. [10 hdc]
- Round 2: Ch 2. (Hdc inc in next st) 10 times. Sl st to the top of the first hdc to join. [20 hdc]
- Round 3: Ch 2. (Hdc in next st, hdc inc in next st) 10 times. Sl st to the top of the first hdc to join. [30 hdc]
- Round 4: Ch 2. (Hdc in next 2 sts, hdc inc in next st) 10 times. Sl st to the top of the first hdc to join. [40 hdc]
- Round 5: Ch 2. (Hdc in next 3 sts, hdc inc in next st) 10 times. Sl st to the top of the first hdc to join. [50 hdc]
- Round 6: Ch 2. (Hdc in next 4 sts, hdc inc in next st) 10 times. Sl st to the top of the first hdc to join. [60 hdc]
- Round 7: Ch 2. (Hdc in next 5 sts, hdc inc in next st) 10 times. Sl st to the top of the first hdc to join. [70 hdc]
- Round 8: Ch 2. (Hdc in next 6 sts, hdc inc in next st) 10 times. Sl st to the top of the first hdc to join. [80 hdc]
- At the end of Round 8, your crown should be relatively flat and measure approximately 6.5-7 inches in diameter. This is the widest part of your hat.
- Perform a clean color change to Color B on the last stitch of Round 8. Cut Color A, leaving a 4-6 inch tail.
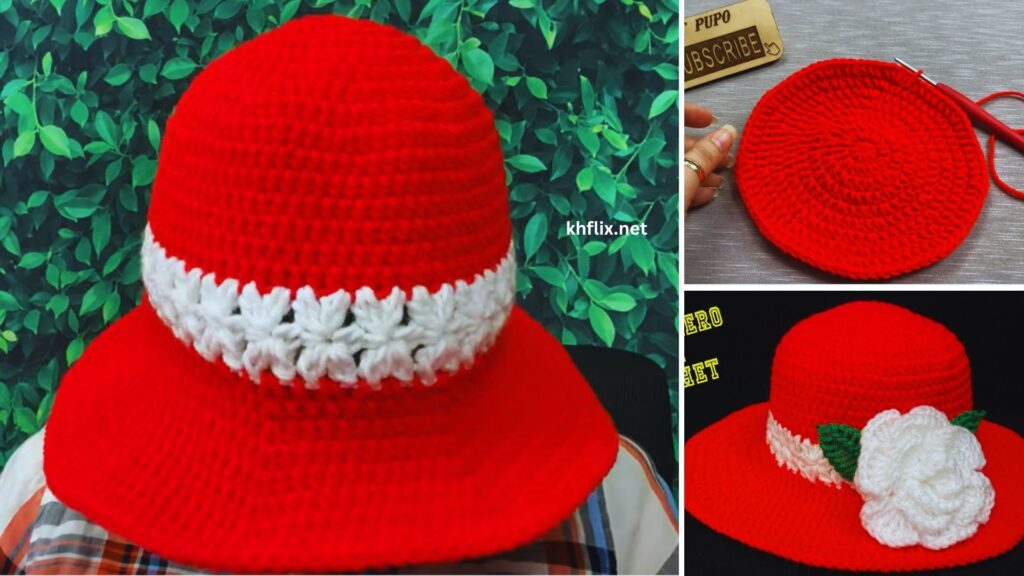
Part 2: The Body of the Hat (Striped)
Now we’ll work straight down without increases to form the main body of the hat, incorporating stripes. We’ll alternate colors every two rounds.
- Round 9 (Color B): Ch 2. Hdc in each st around. Sl st to the top of the first hdc to join. [80 hdc]
- Round 10 (Color B): Ch 2. Hdc in each st around. Sl st to the top of the first hdc to join. [80 hdc]
- Perform a clean color change to Color A on the last stitch of Round 10. Cut Color B.
- Round 11 (Color A): Ch 2. Hdc in each st around. Sl st to the top of the first hdc to join. [80 hdc]
- Round 12 (Color A): Ch 2. Hdc in each st around. Sl st to the top of the first hdc to join. [80 hdc]
- Perform a clean color change to Color B on the last stitch of Round 12. Cut Color A.
Continue Repeating Stripe Pattern:
- Repeat Rounds 9-12 (alternating two rounds of Color B, then two rounds of Color A) until your hat measures approximately 8-8.5 inches (20-21.5 cm) from the top center of the crown to the current edge. This will likely be around Round 17 or 18, ending with Color B.
- Do NOT cut your yarn after the final body round. You’ll continue with the last color for the brim.
Part 3: The Brim
We’ll use single crochet for a firm and neat brim. Continue with the last color you used (e.g., Color B).
- Round (Brim 1): Ch 1 (does NOT count as a stitch). Sc in the same stitch as join. Sc in each st around. Sl st to the first sc to join. [80 sc]
- Round (Brim 2): Ch 1. Sc in each st around. Sl st to the first sc to join. [80 sc]
- Round (Brim 3): Ch 1. Sc in each st around. Sl st to the first sc to join. [80 sc]
- For a slightly wider brim, you can add one or two more rounds of single crochet.
Part 4: Finishing Your Two-Color Hat
- Fasten Off: After completing your final brim round, cut your yarn, leaving a 6-inch tail. Yarn over and pull the tail completely through the loop on your hook to secure the last stitch.
- Weave in All Ends: This is a crucial step for a professional and durable finish. Thread each yarn tail (from your Magic Ring, color changes, and final fasten-off) onto your yarn needle. Carefully weave them through several stitches on the inside of your hat, making them secure and invisible from the outside. Take your time with this step, especially with the color change tails, to ensure they don’t unravel.
- Optional: Blocking: Gently block your hat by either lightly misting it with water or dampening it, then shaping it over a bowl, balloon, or wig head to the desired size. Allow it to air dry completely. Blocking helps to even out stitches and set the shape.
You’ve done it! Your cozy and colorful two-color crochet hat is now complete. It’s ready to wear or gift!
Video Tutorial