 by
by Crocheting your own handbag is one of the most satisfying and creative projects you can take on. Not only do you get to showcase your craftsmanship, but you also end up with a functional, stylish accessory that you can customize in any color combination you like.
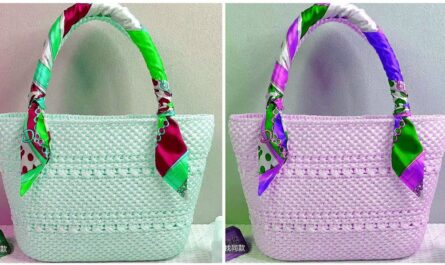
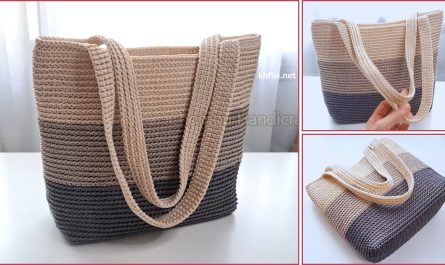
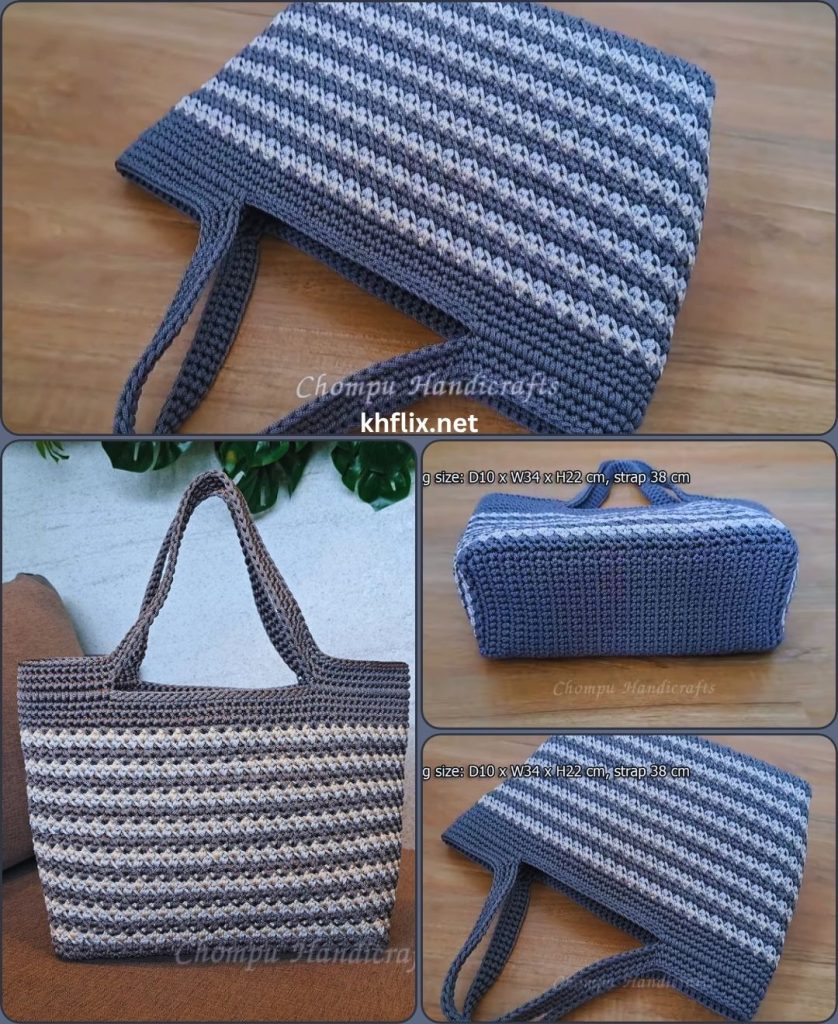
A Striped Crochet Handbag is perfect for both beginners and intermediate crocheters. The design looks trendy yet classic, and the stripes allow you to play with color, texture, and personality. Whether you want a chic neutral tote or a vibrant beach bag, this tutorial will guide you through every step.
🎒 What You’ll Need
Before you begin, gather the right materials. Choosing the correct yarn, hook, and accessories ensures your bag will be both durable and beautiful.
Materials:
- Yarn: Medium weight (Category 4) cotton yarn or cotton blend yarn
Why cotton? It’s strong, holds its shape, and gives a clean finish.
You’ll need 2–3 colors for the stripes. - Crochet Hook: 4.0 mm to 4.5 mm hook (check your yarn label for best size)
- Tapestry Needle: For weaving in ends
- Scissors
- Stitch Markers: Optional, but helpful for counting rounds
- Lining Fabric (Optional): For a more structured interior
- Magnetic Snap or Zipper (Optional): For closure
- Bag Handles or Strap (Optional): You can crochet handles or attach ready-made ones
🎨 Choosing Your Colors
The charm of a striped bag lies in its color palette. Here are a few ideas:
- Classic Look: Cream + Beige + Brown
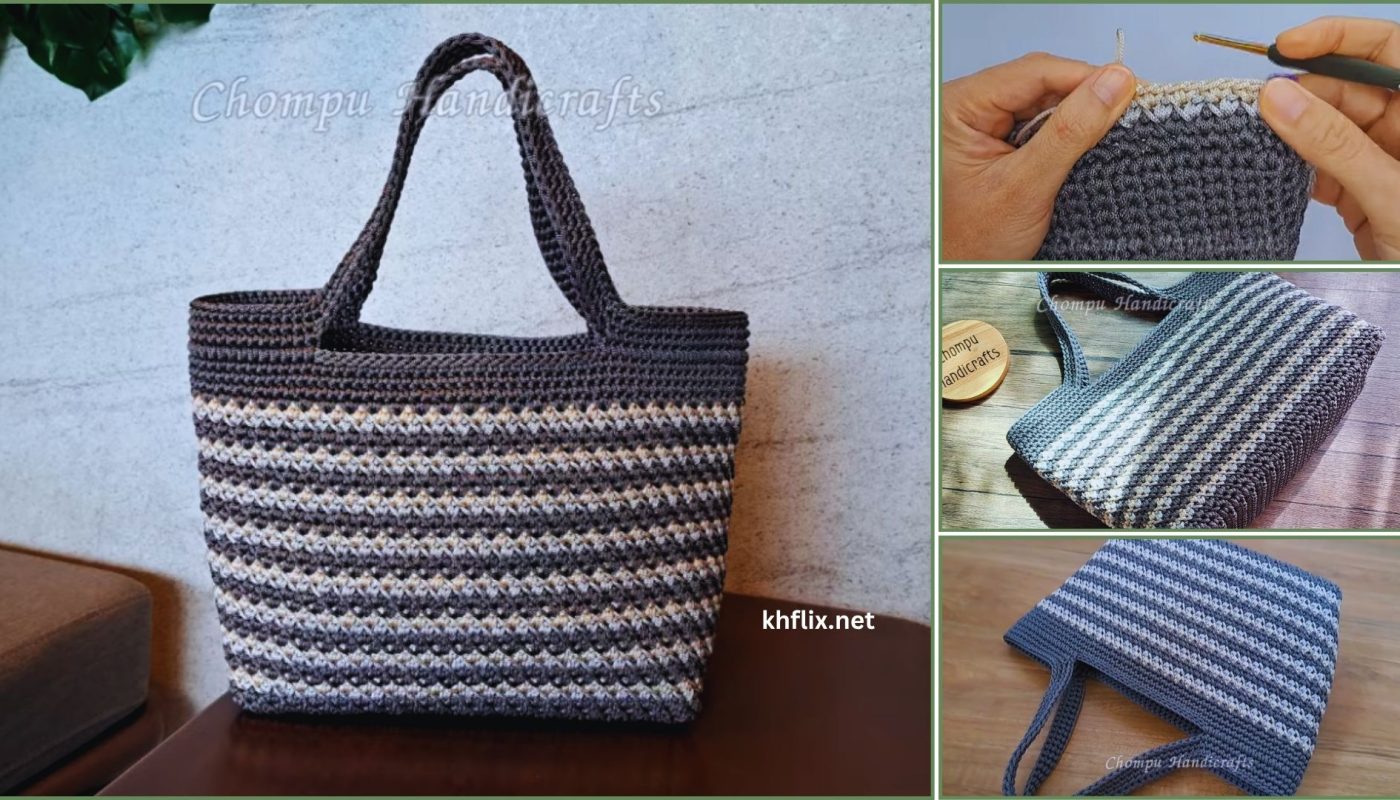
- Modern Monochrome: Black + White + Gray
- Summer Vibes: Turquoise + Coral + Yellow
- Boho Style: Mustard + Rust + Olive
- Elegant Contrast: Navy Blue + Gold
You can alternate stripe widths for a more artistic design, or keep them even for a balanced look.
🪡 Basic Stitches You’ll Use
If you’re new to crochet, here are the stitches needed for this project:
| Stitch | Abbreviation | How It’s Done |
|---|---|---|
| Chain | ch | Yarn over, pull through loop |
| Slip Stitch | sl st | Insert hook, yarn over, pull through both loops |
| Single Crochet | sc | Insert hook, yarn over, pull through, yarn over, pull through both loops |
| Half Double Crochet | hdc | Yarn over, insert hook, yarn over, pull through all three loops |
| Double Crochet | dc | Yarn over, insert hook, yarn over, pull through two loops twice |
For most handbag bases, single crochet (sc) or half double crochet (hdc) works best for a dense, sturdy fabric.
🧺 Step-by-Step Instructions
Step 1: Making the Base
You can start your handbag with either a rectangle base (for a tote) or an oval base (for a rounded bag).
Rectangular Base:
- Foundation Chain:
Ch 31 (or adjust length for your desired bag width). - Row 1:
Sc in the second ch from hook and in each ch across. (30 sc)
Ch 1, turn. - Row 2–6:
Sc in each stitch across. (This creates a flat base.)
Adjust number of rows depending on how deep you want your bag base to be. - Round 7:
Work around the rectangle — sc evenly across the sides and corners to start forming a base edge. Join with sl st.
Now you have the foundation for your handbag.
Step 2: Building the Body
Once your base is ready, start crocheting in rounds to build the height.
- Round 1:
Ch 1, sc in each st around, join with sl st. - Round 2–4:
Continue in sc or switch to half double crochet (hdc) for a slightly taller stitch.
💡 Tip: Use a stitch marker at the start of each round to keep track of your progress.
Step 3: Adding Stripes
This is where the magic happens! You’ll create colorful horizontal stripes by changing yarn colors at the end of rounds.
- Changing Colors:
When you reach the end of a round, stop before completing the last stitch.
Instead of pulling through with the same color, yarn over with the new color and finish the stitch.
This gives a clean, seamless transition. - Stripe Pattern Example:
- 4 rounds in Color A
- 2 rounds in Color B
- 4 rounds in Color C
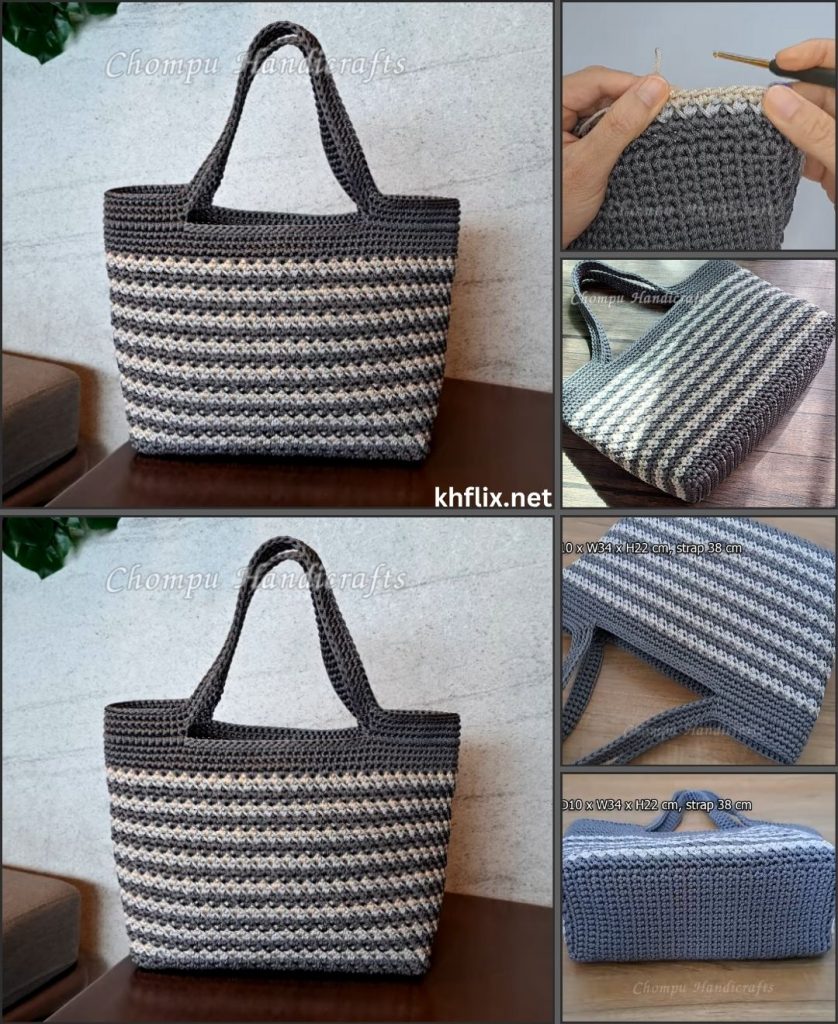
- Repeat pattern until desired height (around 20–25 cm)
- Weaving in Ends:
When changing colors, leave a 3–4 inch tail to weave in later for a neat finish.
Step 4: Shaping the Top & Handles
When your bag reaches your desired height, it’s time to create the top edge and handles.
Option 1: Crocheted Handles
- Find the center points of the front and back.
- Decide handle width (e.g., skip 10 stitches for each handle space).
- Round 1 (Handle Setup):
Sc around, but when you reach handle positions, ch 20–25 (for handle length), skip the same number of stitches, and continue sc around. - Round 2:
Sc in each stitch and across each ch for a strong handle edge. - Repeat for 2–3 more rounds to make the handles sturdy.
Option 2: Add Pre-Made Handles
Sew or attach leather, bamboo, or wooden handles for a more professional look.
Step 5: Optional Lining & Closure
Adding a lining gives your bag structure and prevents it from stretching.
- Cut fabric slightly larger than your bag’s interior.
- Fold and sew the edges neatly.
- Attach the lining using a needle and thread or fabric glue.
- Add a magnetic snap or zipper to close the bag securely.
Step 6: Finishing Touches
- Weave in all yarn ends using a tapestry needle.
- Steam block lightly if needed to even out the fabric.
- Add tassels, pom-poms, or embroidered initials for personalization.
- Attach a decorative charm or crochet flower for flair!
💡 Design Variations
Want to make your striped handbag unique? Try these ideas:
- Vertical Stripes: Use tapestry crochet to switch colors within each row.
- Chevron Stripes: Follow a ripple pattern for a zigzag effect.
- Ombre Stripes: Gradually blend from light to dark shades of one color.
- Textured Stripes: Alternate between single crochet and puff stitch rows.
🧶 Care Instructions
- Hand wash gently in cold water using mild detergent.
- Lay flat to dry (do not hang, as it may stretch).
- Store in a cool, dry place to maintain shape.
🌈 Tips for Beginners
- Always check gauge if you want your bag to be a specific size.
- Don’t cut yarn ends too short — leave enough to weave in securely.
- Use stitch markers when working in rounds to avoid losing track.
- Keep your tension even; too tight makes it stiff, too loose makes it floppy.
- Experiment with color combinations — stripes are forgiving and fun!
👜 Conclusion
A Striped Crochet Handbag is a practical, stylish, and rewarding project that you can complete with just basic stitches and a bit of creativity. The alternating colors give your bag a fresh, modern look while the crochet texture adds charm and durability.
Once you’ve mastered the basic pattern, you can make matching accessories — coin purses, tote bags, or even clutches — all with your own signature color combinations.
So grab your yarn, pick your favorite shades, and start crocheting your one-of-a-kind handbag today. With every stripe you complete, you’ll see your creation come to life — colorful, personal, and uniquely yours. 🌸✨